Posted on Leave a comment

Working with virtual instruments: tips and tricks

virtual instruments are software programs that mimic the sounds and capabilities of traditional instruments, such as pianos, guitars, and drums. They have become an essential part of many music production setups and can provide a convenient and cost-effective way to incorporate a wide range of instruments into your music. In this article, we’ll go over some tips and tricks for working with virtual instruments in your music production.

  1. Choose the right virtual instrument for the job

One of the keys to working with virtual instruments is to choose the right one for the job. With so many virtual instruments available, it’s important to take the time to find one that is suitable for your needs. This can involve considering factors such as the type of sound you’re looking for, the complexity of the instrument, and the features and capabilities that it offers.

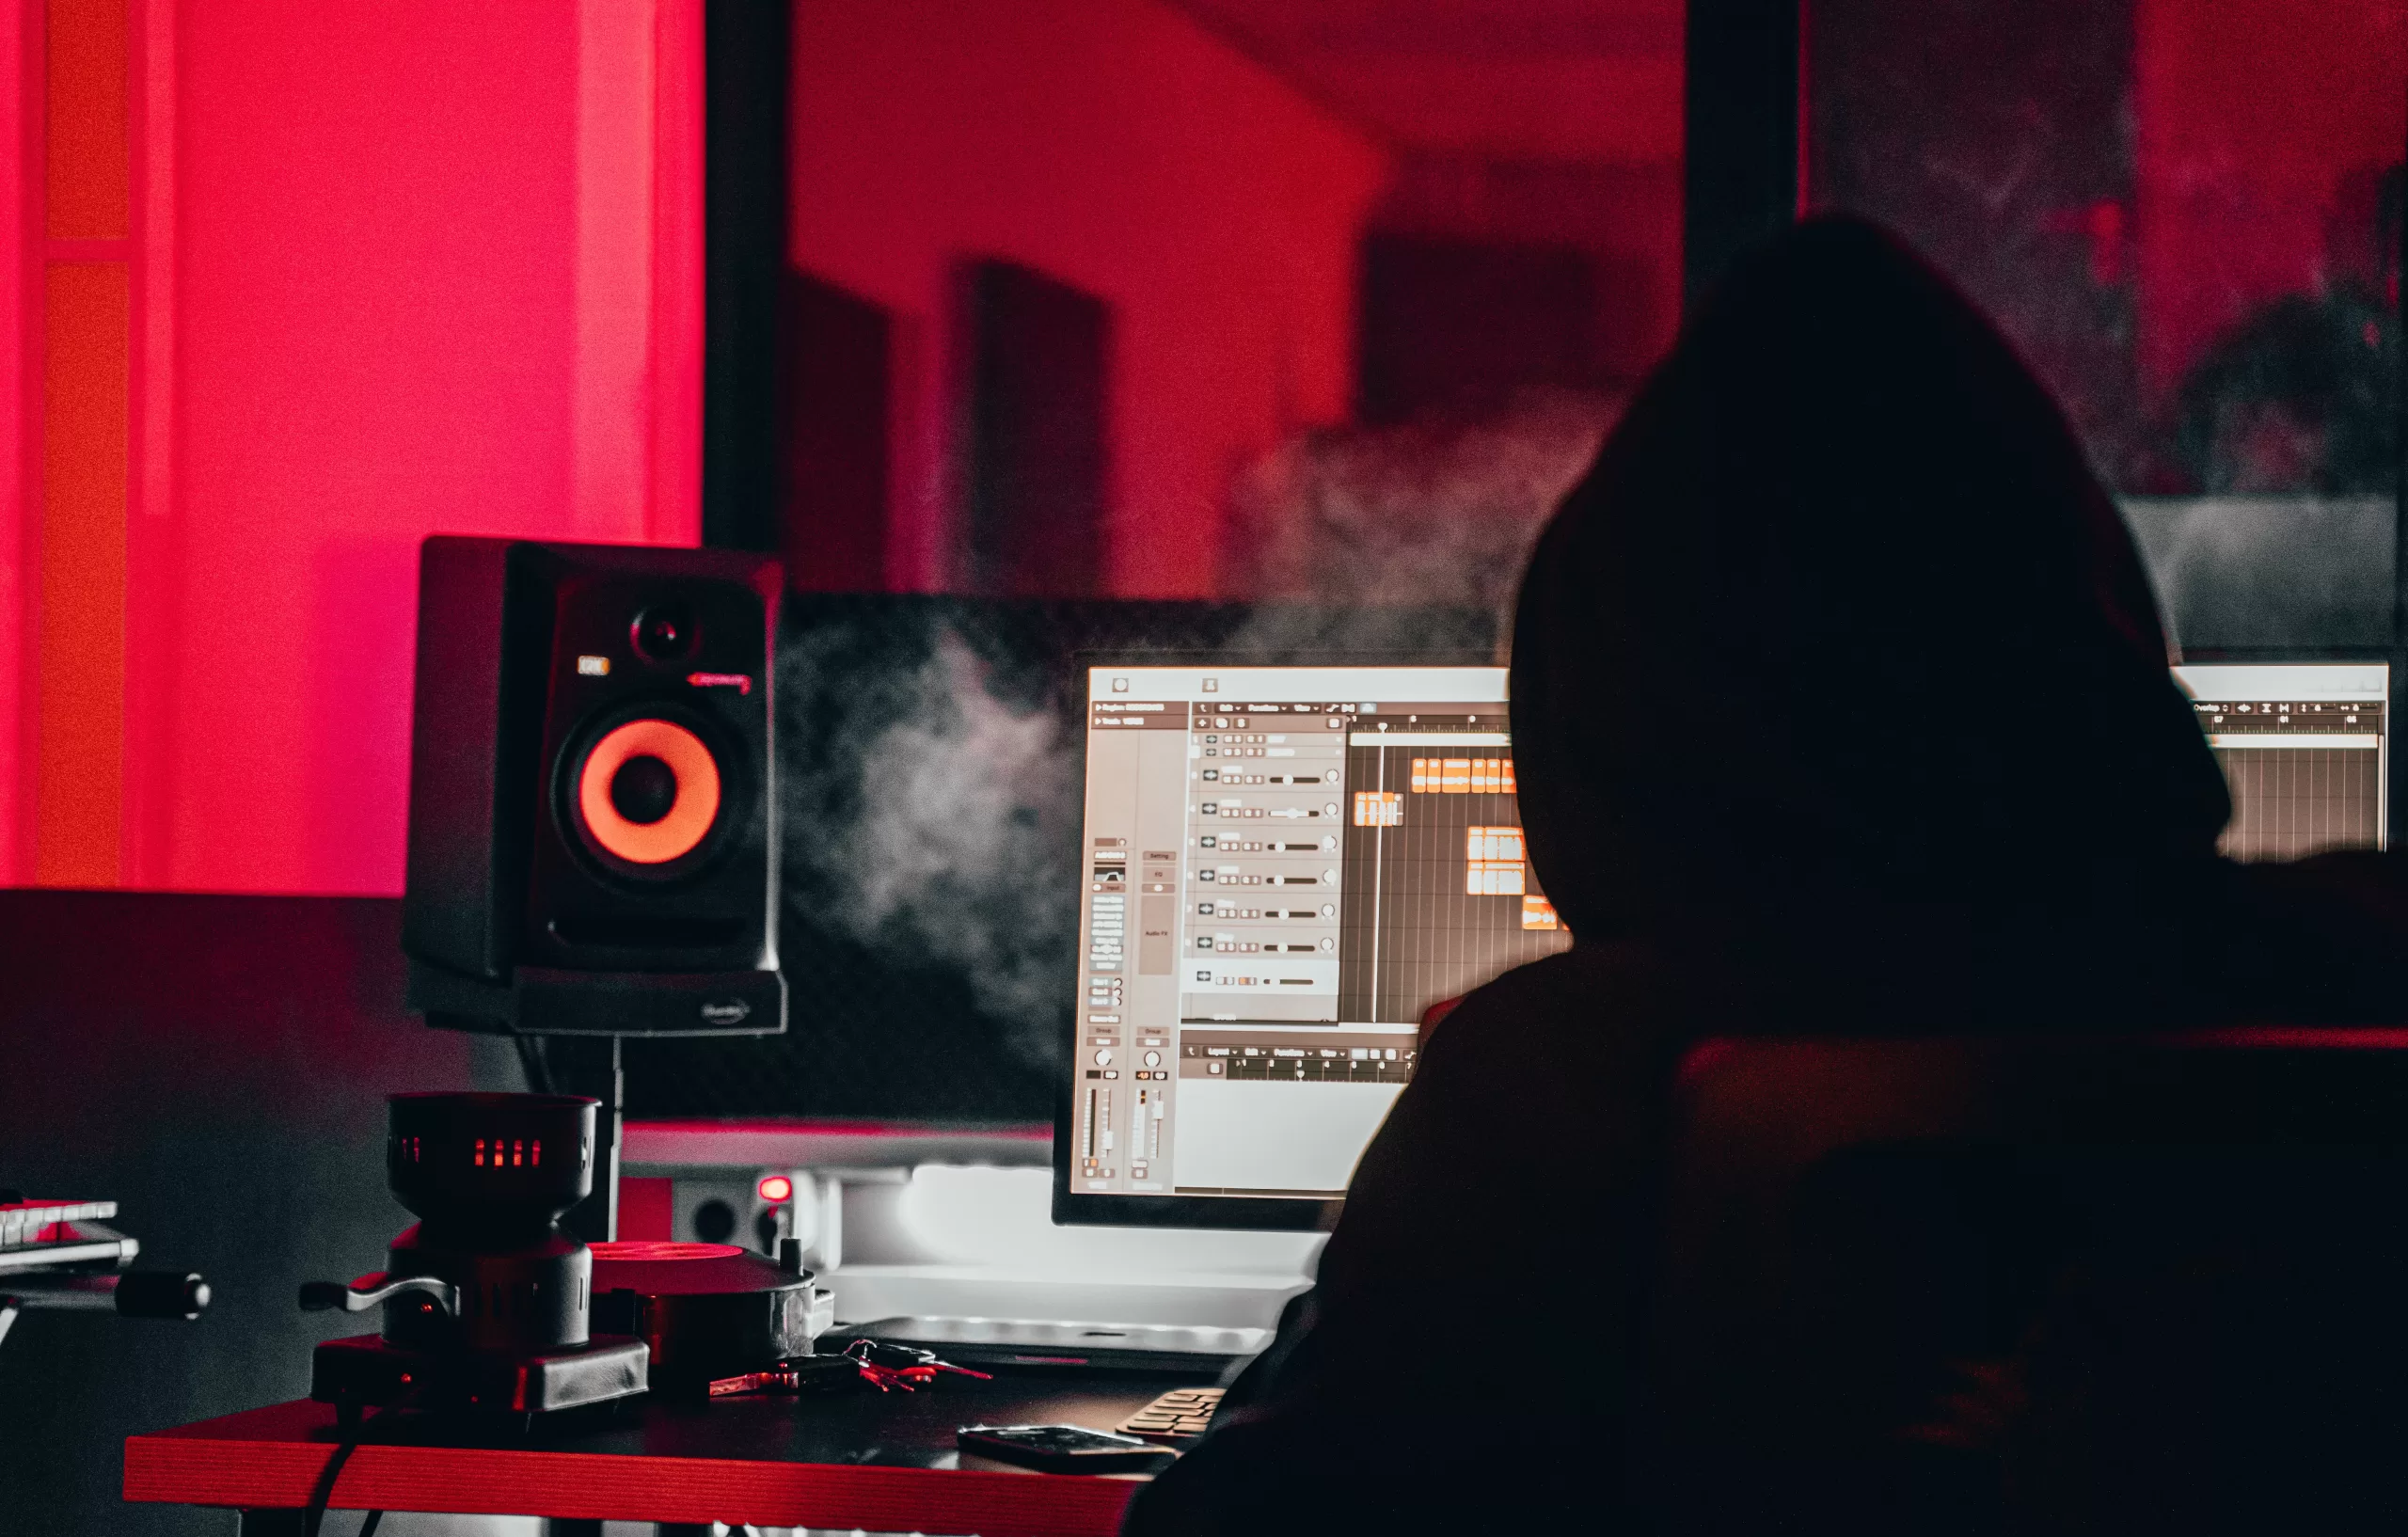
  1. Experiment with different sounds and settings

One of the great things about virtual instruments is the ability to experiment with different sounds and settings. Many virtual instruments come with a wide range of presets and customization options that allow you to shape the sound in a variety of ways. By taking the time to experiment with different sounds and settings, you can find the perfect sound for your music.

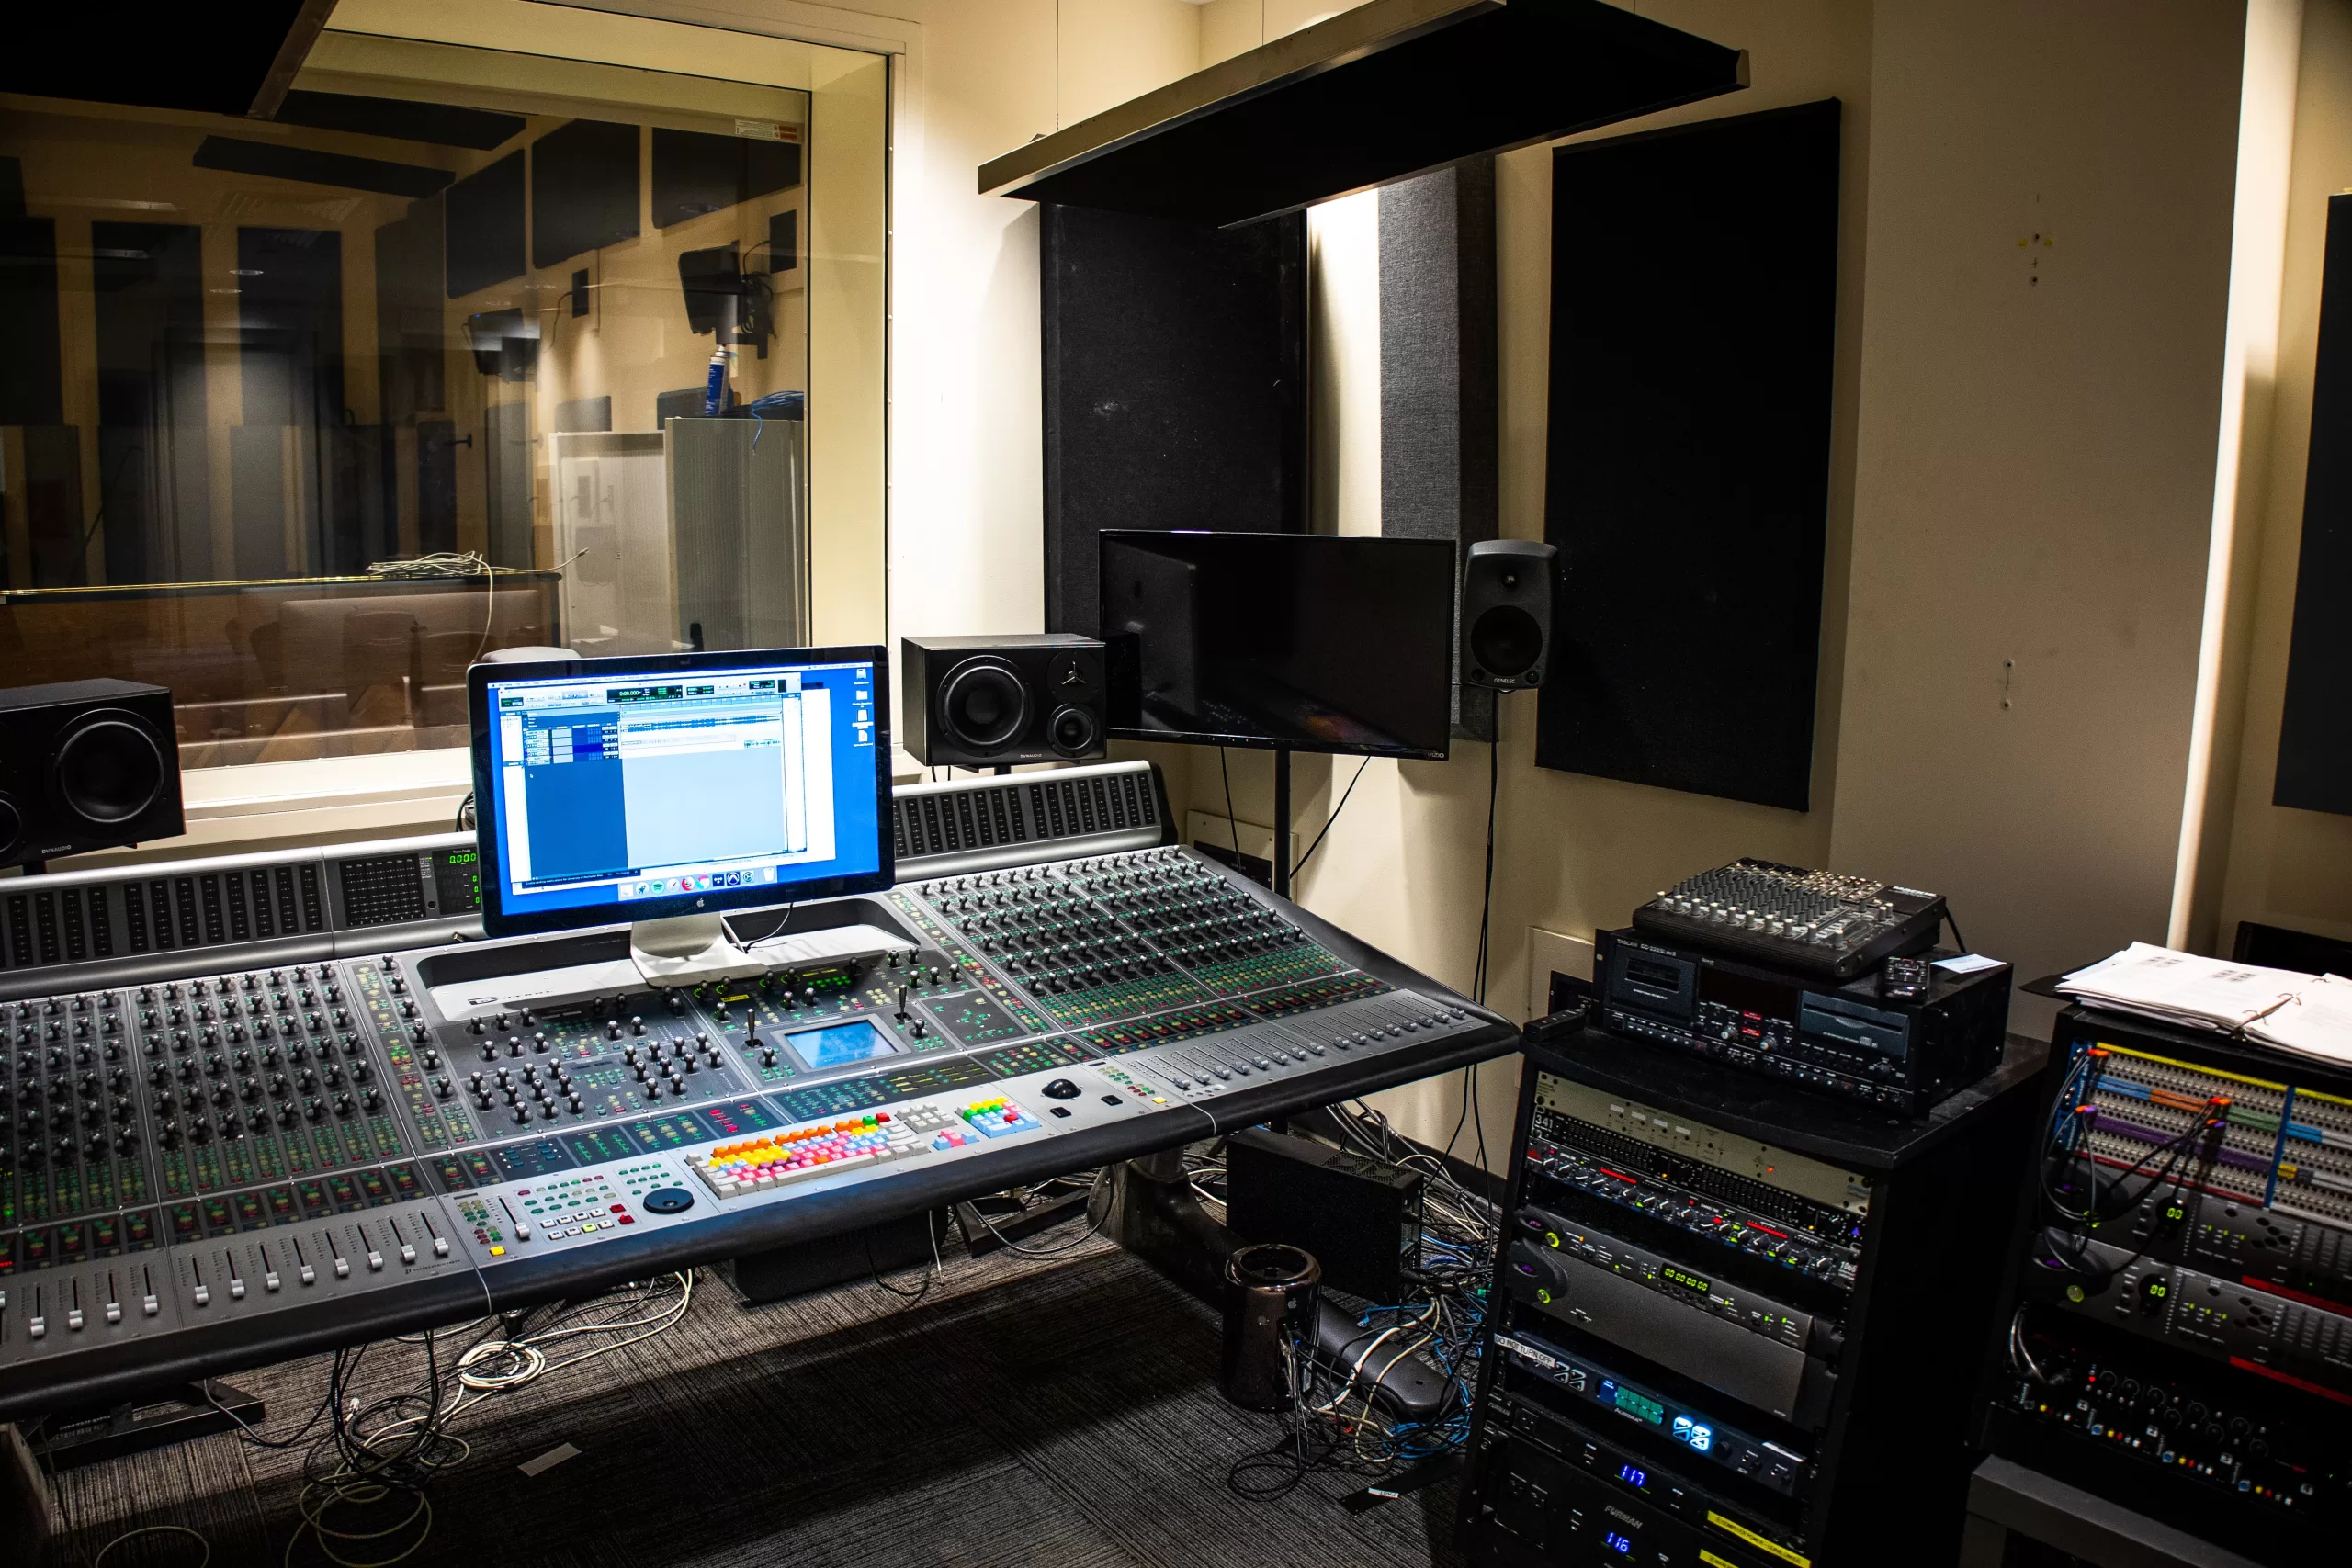
  1. Use effects to shape the sound

Another tip for working with virtual instruments is to use effects to shape the sound. This can involve using effects such as EQ, reverb, and delay to create a more polished and professional-sounding final product. By applying effects in a thoughtful and targeted way, you can add depth and character to your virtual instruments and make them sound more realistic and lifelike.

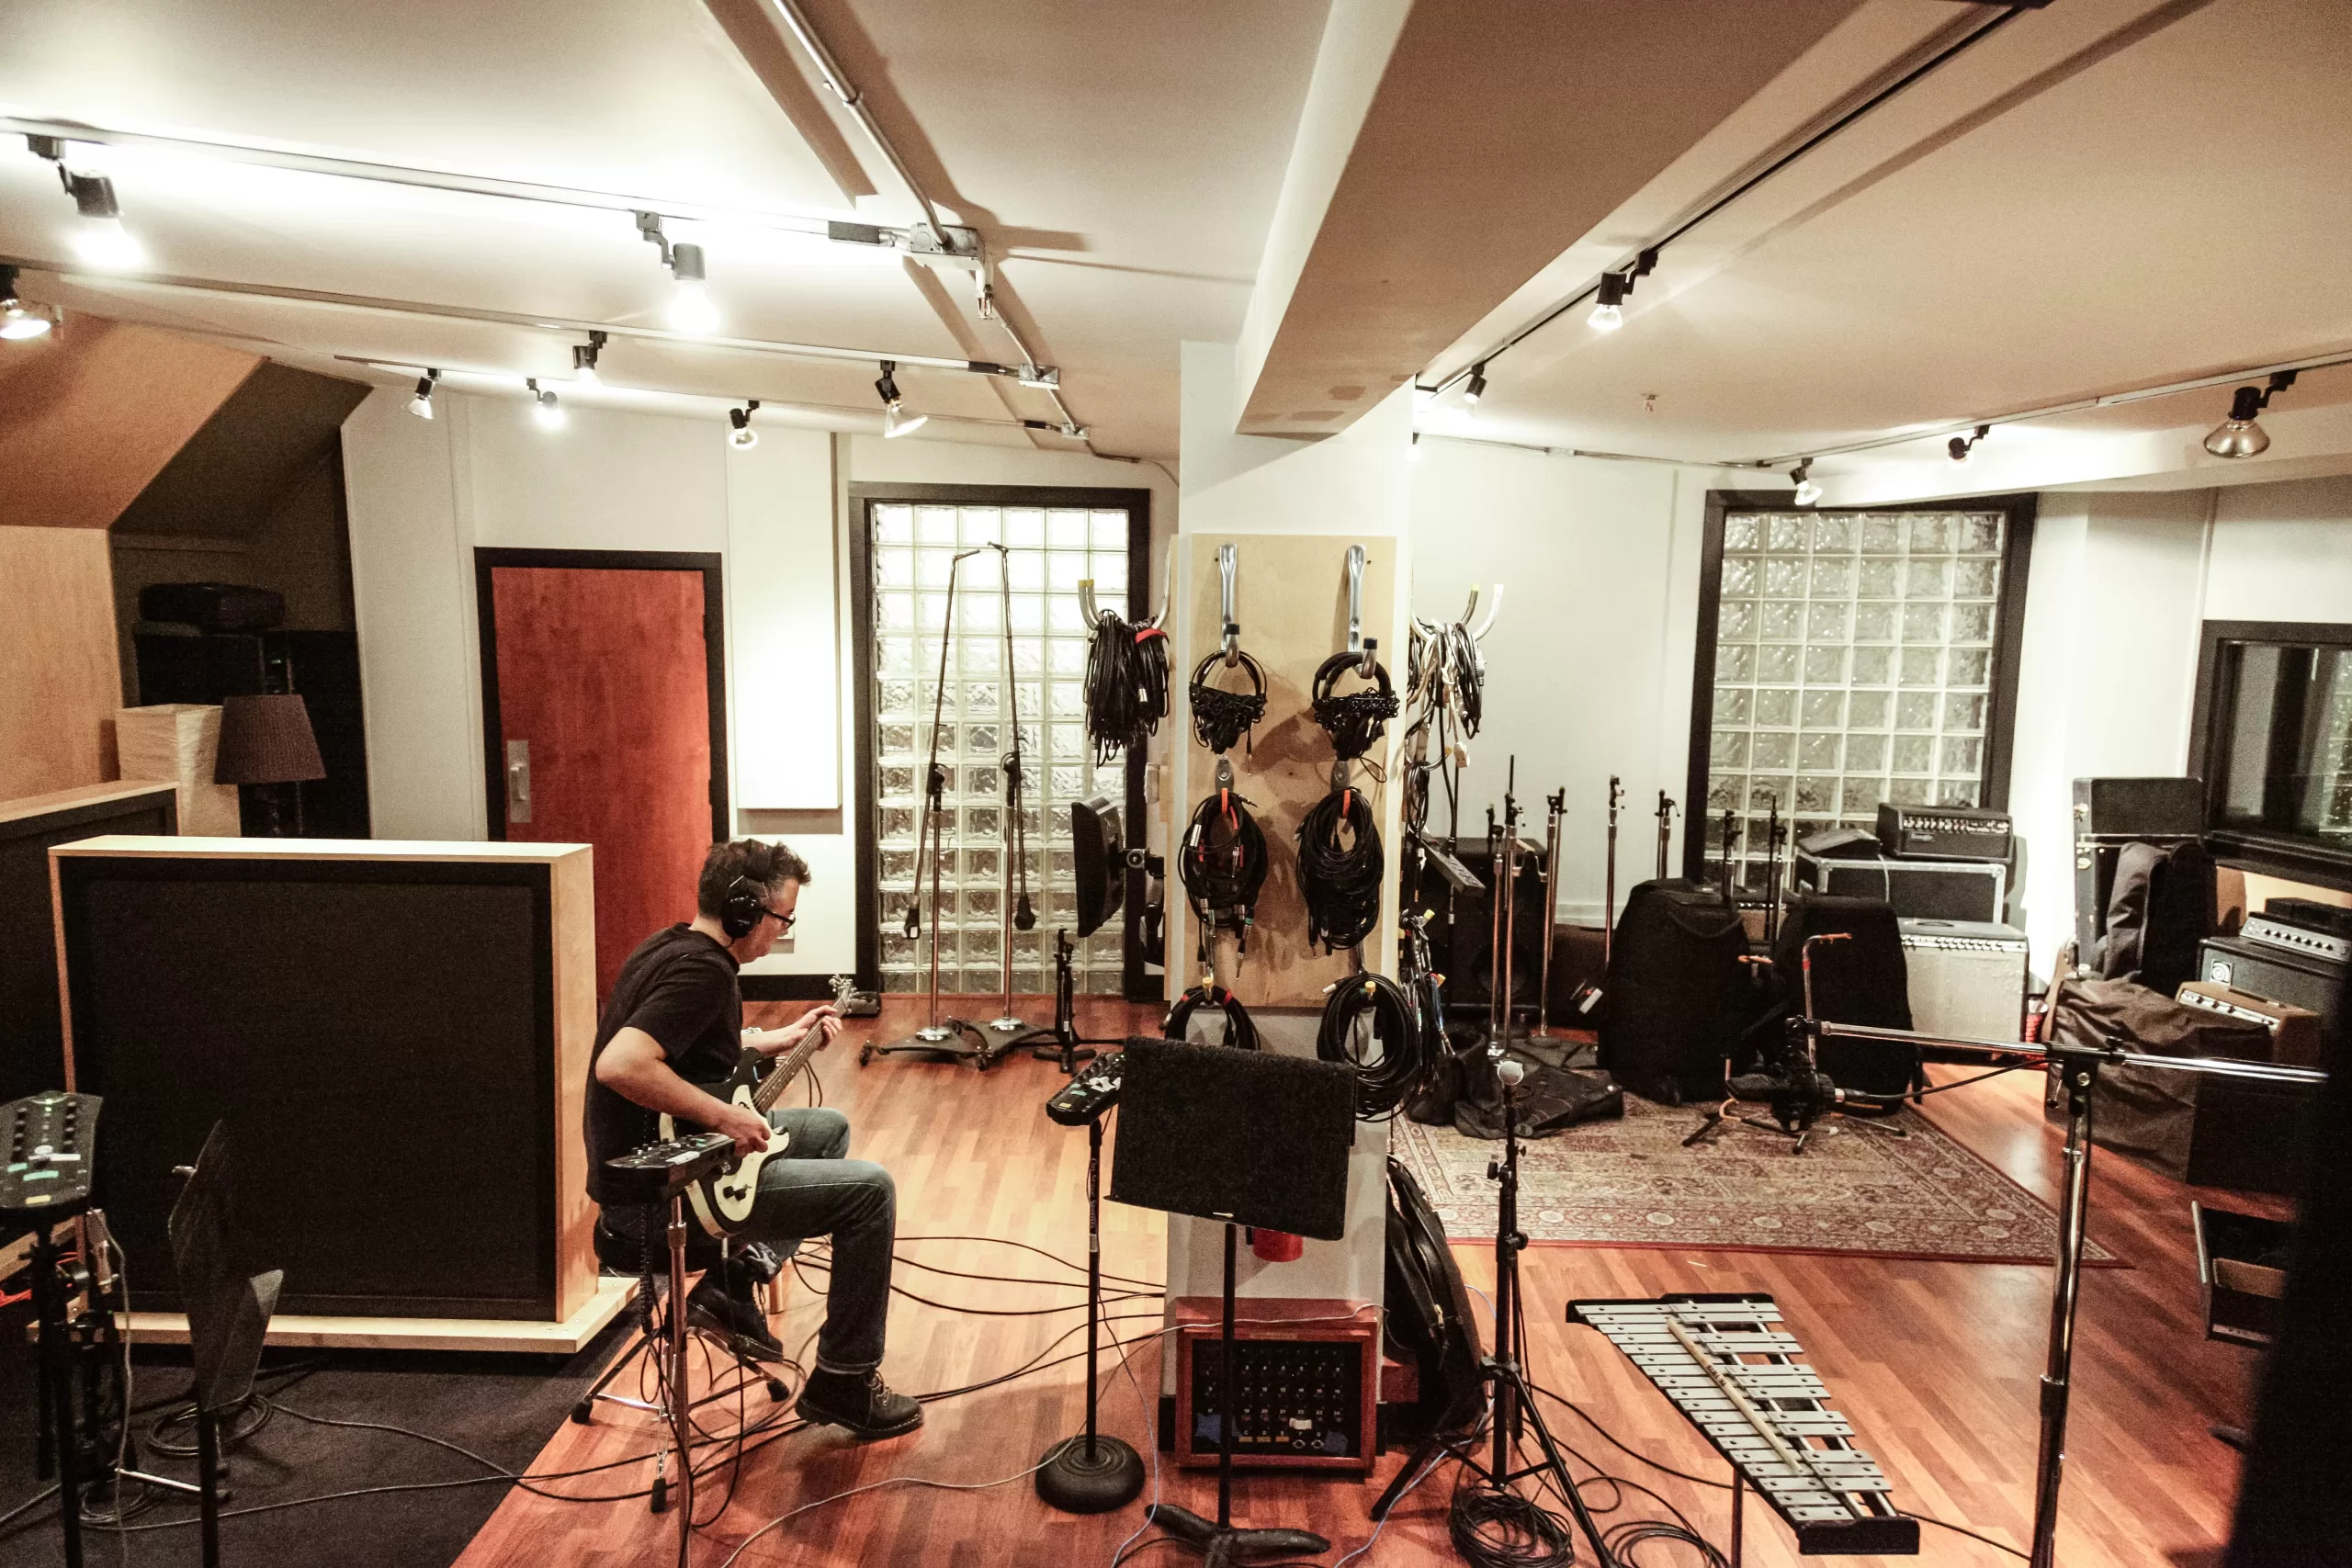
  1. Layer and blend virtual instruments with real instruments

One way to make virtual instruments sound more realistic is to layer and blend them with real instruments. This can involve recording real instruments and layering them with virtual instruments, or using virtual instruments to augment the sound of real instruments. By combining the strengths of both virtual and real instruments, you can create a more nuanced and dynamic sound

in your music.

  1. Use virtual instruments to create unique and unconventional sounds

Finally, don’t be afraid to use virtual instruments to create unique and unconventional sounds. Many virtual instruments come with advanced features and capabilities that allow you to create sounds that are impossible to achieve with real instruments. By exploring the possibilities of virtual instruments, you can create sounds that are truly original and unique.

In conclusion, working with virtual instruments can be a great way to incorporate a wide range of instruments into your music production. By choosing the right virtual instrument for the job, experimenting with different sounds and settings, using effects to shape the sound, layering and blending virtual instruments with real instruments, and exploring the capabilities of virtual instruments, you can create a wide range of sounds and add depth and character to your music. Whether you’re a seasoned producer or just starting out, incorporating virtual instruments into your production workflow can be a valuable addition to your toolkit.

Posted on Leave a comment

How to make your music stand out in the industry

Making your music stand out in the industry is no easy feat – there’s a lot of competition out there, and it can be difficult to get noticed. However, by following some key strategies, you can increase your chances of success and make your music stand out. Here are some tips for making your music stand out in the industry:

  1. Develop your own sound: One of the most important things you can do to make your music stand out is to develop your own unique sound. This can involve incorporating your own influences and experiences into your music, as well as experimenting with different sounds and techniques. While it’s important to be aware of industry trends, try to avoid simply copying what’s already out there – instead, focus on creating something that’s truly your own.
  2. Focus on quality: In the music industry, quality is key. Make sure to put in the time and effort to create high-quality music that stands up to scrutiny. This can involve investing in good recording equipment, working with talented musicians and producers, and spending time refining your tracks.
  3. Promote yourself effectively: In today’s music industry, it’s important to be able to promote yourself effectively. This can involve building a strong online presence, networking with industry professionals, and leveraging social media and other platforms to promote your music.
  4. Collaborate with other artists: Collaborating with other artists can bring new ideas and perspectives to your music and help you reach a wider audience. Don’t be afraid to reach out to other artists and offer your services as a collaborator.
  5. Stay up to date with industry trends: The music industry is constantly evolving, and it’s important to stay up to date with new technologies, techniques, and trends. This can involve taking online courses or workshops, or just staying informed about what’s happening in the industry.
  6. Build a strong network: Building a strong network of industry professionals can be crucial for success in the music industry. This can involve networking at events, joining online communities and forums, and collaborating with other artists.
  7. Don’t be afraid to take risks: Making great music often involves taking risks and stepping outside your comfort zone. Don’t be afraid to try new things and experiment with different sounds and styles.
  8. Learn from your mistakes: Everyone makes mistakes in the music production process, and it’s important to learn from them and use them as opportunities for growth. Don’t get discouraged by setbacks – instead, use them as opportunities to improve your skills.

By following these tips, you can increase your chances of success in the music industry and make your music stand out. Remember that making great music takes time and practice, so don’t get discouraged and keep working towards your goals.

Posted on Leave a comment

The art of mixing and mastering: a masterclass

Mixing and mastering are crucial steps in the music production process, and getting them right can make a big difference in the quality of your tracks. Here’s a masterclass on the art of mixing and mastering:

  1. What is mixing? Mixing is the process of taking all of the recorded elements of a song – such as vocals, instruments, and samples – and arranging them into a cohesive track. This involves balancing the levels of each element, applying effects, and shaping the overall sound of the track.
  2. What is mastering? Mastering is the final step in the music production process and involves optimizing the overall sound of the track and ensuring that it sounds good on a variety of playback systems. This can involve applying EQ, compression, and other effects to enhance the sound, as well as preparing the track for distribution.
  3. Tips for mixing: Here are some tips for getting the best possible mix:
  • Use reference tracks: Reference tracks are songs that you use as a reference when mixing your own music. They can be helpful for getting a sense of how your tracks should sound and for making mix decisions.
  • Pay attention to the arrangement: The arrangement of a song – the way that the various elements are put together – is crucial to its success. Make sure that each element is contributing to the overall feel and direction of the song.
  • Balance the levels: Proper level balancing is crucial for a good mix. Make sure to balance the levels of all the elements in your mix and use a metering plugin to ensure that they’re not peaking.
  • Use EQ to shape the sound: Equalization (EQ) is a powerful tool for shaping the sound of individual tracks and the overall mix. Use EQ to balance the frequencies of each element and create separation between instruments.
  • Use compression wisely: Compression can be used to even out the levels of a track and add punch and sustain to certain elements. However, it’s important to use it wisely – over-compressing can lead to a lifeless mix.
  1. Tips for mastering: Here are some tips for mastering your tracks:
  • Use a mastering plugin: A mastering plugin is a software program that can be used to apply effects to a track during the mastering process. Some popular options include Ozone and LANDR.
  • Use reference tracks: As with mixing, it can be helpful to use reference tracks during the mastering process. This can give you a sense of how your track should sound in comparison to other professionally mastered tracks.
  • Use EQ to balance the frequencies: Equalization is an important tool for balancing the frequencies of a track during the mastering process. Use a spectral analyzer plugin to identify any frequency imbalances and use EQ to fix them.
  • Use compression sparingly: While compression can be useful for adding punch and sustain to a track, it’s important to use it sparingly during the mastering process. Over-compressing can lead to a lifeless sound.
  • Leave enough headroom: Headroom refers to the space between the highest peak of a track and the maximum level that the track can reach without distorting. It’s important to leave enough headroom during the mastering process to ensure that the track doesn’t distort.

By following these tips, you can improve the quality of your mixes and masterings and take your music production skills to the next level. Remember that mixing and mastering take time and practice, so don’t get discouraged and keep working towards your goals.

Posted on Leave a comment

5 tips for improving your mixing skills

Mixing is an essential aspect of music production that can often be the difference between a track that sounds amateur and one that sounds professional. It involves balancing the levels of the different audio elements in a song, such as vocals, instruments, and effects, and applying processing to achieve a desired sound. While mixing can be a challenging task, even for experienced producers, there are several tips and techniques you can use to improve your mixing skills. Here are five tips that can help you take your mixes to the next level:

  1. Start with a clean slate

Before you begin mixing, it’s important to make sure that your session is organized and that you have all the necessary elements. This means creating clear and concise folder structures, labeling tracks, and setting up your session in a way that makes sense to you. It also means starting with raw, unprocessed audio tracks whenever possible, as this will give you more control over the final sound.

  1. Use reference tracks

One of the best ways to improve your mixing skills is to use reference tracks. A reference track is a professionally mixed song in a similar genre that you can use as a benchmark for your own mix. By referencing a track that you know sounds good, you can get a sense of how your mix compares and identify areas where you may need to make adjustments.

  1. Use EQ to balance frequencies

Equalization (EQ) is an essential tool in the mixing process, and it’s important to understand how to use it effectively. When mixing, you want to make sure that each element of the mix has its own space in the frequency spectrum. For example, you don’t want the bass and kick drum to fight for space in the low end, or the vocals and guitar to clash in the mid-range. By using EQ to carve out space for each element in the mix, you can achieve a clearer and more balanced sound.

  1. Pay attention to panning

Panning is the process of adjusting the stereo position of a sound within the mix. By panning certain elements to different parts of the stereo field, you can create a sense of space and depth in the mix. For example, you might pan the lead vocals to the center of the mix, while panning the guitars and keyboards to the left and right. Panning is an effective way to create separation between different elements in the mix and can help to make your mix sound more polished.

  1. Use effects tastefully

Effects such as reverb, delay, and compression can be powerful tools in the mixing process, but it’s important to use them sparingly. Applying too much of any given effect can clutter up the mix and make it sound over-produced. Instead, use effects to enhance certain elements of the mix and create a sense of space and depth. For example, you might use a small amount of reverb on the vocals to give them a sense of distance, or use a short delay on the guitar to add some texture.

In conclusion, mixing is an essential aspect of music production that requires practice and patience. By following these tips and techniques, you can improve your mixing skills and create professional-sounding mixes that stand out. Remember to start with a clean slate, use reference tracks, balance frequencies with EQ, pay attention to panning, and use effects tastefully, and you’ll be well on your way to creating great-sounding mixes.

Posted on Leave a comment

The importance of sound design in electronic music production

Sound design is an essential aspect of electronic music production that involves creating and shaping the sounds that are used in a track. It involves everything from synthesizing new sounds from scratch to manipulating and processing pre-existing sounds to create something new and unique. Sound design is a crucial part of the music production process, as it allows producers to craft and sculpt the sounds that will ultimately make up their tracks.

One of the main reasons why sound design is so important in electronic music production is that it allows producers to create sounds that are specific to their music. While it’s possible to use pre-existing samples and sounds in a track, creating your own sounds allows you to have complete control over the final sound. This can be especially useful in electronic music, where the sounds used are often highly synthetic and unique. By designing your own sounds, you can create something that is completely original and tailored to your music.

In addition to allowing producers to create original sounds, sound design also helps to give tracks their own identity and character. When listeners hear a track, they often associate it with the sounds that are used, and well-designed sounds can help to make a track stand out. By putting time and effort into sound design, producers can create tracks that are sonically distinctive and memorable.

Another reason why sound design is so important in electronic music production is that it allows producers to create new and unique combinations of sounds. In electronic music, it’s not uncommon for producers to combine different sounds and techniques to create something that is completely new and original. By designing their own sounds, producers can experiment with different combinations and create sounds that are truly unique.

Finally, sound design is important in electronic music production because it allows producers to create a sense of continuity and cohesion within their tracks. When a track is made up of a variety of different sounds, it can be difficult to create a cohesive whole. By designing their own sounds, producers can create a set of sounds that work well together and help to tie the track together.

In conclusion, sound design is an essential aspect of electronic music production that allows producers to create original sounds, give their tracks character and identity, experiment with new combinations of sounds, and create a sense of continuity within their tracks. By putting time and effort into sound design, producers can craft tracks that are sonically distinctive and memorable.

Posted on Leave a comment

How to create your own sample library

Having your own sample library can be a valuable resource for any producer, as it allows you to have a collection of sounds and samples at your fingertips that can be used in your music. A sample library can consist of a wide range of sounds, from drum samples and loops to vocal samples and sound effects. In this article, we’ll go over some tips on how to create your own sample library.

  1. Determine the focus of your sample library

Before you begin creating your sample library, it’s important to decide on the focus of your collection. Do you want to create a library of drum samples, vocal samples, or something else? Having a clear focus will help you to stay organized and ensure that your sample library is useful and relevant to your needs.

  1. Record your own sounds

One of the best ways to create a unique and original sample library is to record your own sounds. This can be anything from drum samples and percussion loops to vocal samples and sound effects. By recording your own sounds, you can create something that is completely original and tailored to your needs.

  1. Edit and process your sounds

Once you’ve recorded your sounds, it’s important to take the time to edit and process them. This can involve anything from cutting and trimming samples to applying EQ and effects to shape the sound. By taking the time to edit and process your sounds, you can create a collection of samples that are polished and ready to use in your music.

  1. Organize and label your samples

As your sample library grows, it’s important to keep it organized and well-labeled. This can involve creating folders for different categories of samples, such as drums, vocals, and sound effects, and labeling each sample with a descriptive and unique name. By keeping your sample library organized, you’ll be able to easily find the samples you need when it’s time to use them in your music.

  1. Backup and store your samples

Once you’ve created your sample library, it’s important to make sure that you have a reliable backup and storage solution in place. This can involve backing up your samples to an external hard drive or cloud storage service. By having a backup of your samples, you can ensure that you don’t lose any valuable sounds in the event of a computer crash or other disaster.

In conclusion, creating your own sample library can be a valuable resource for any producer. By recording your own sounds, editing and processing them, organizing and labeling your samples, and backing them up, you can create a collection of sounds that is unique and tailored to your needs. By building and maintaining a sample library, you’ll have a collection of sounds that you can use to help bring your music to life.

Posted on Leave a comment

The tools and software every music producer needs

As a music producer, having the right tools and software can make a big difference in the quality of your tracks and the efficiency of your workflow. While there are many options out there, here are some of the essential tools and software that every music producer needs:

  1. Digital audio workstation (DAW): A digital audio workstation (DAW) is software that allows you to record, edit, and produce music. There are many different DAWs available, each with their own features and capabilities. Some popular options include Logic Pro, Ableton Live, and Pro Tools.
  2. Audio interface: An audio interface allows you to connect your instruments and microphones to your computer and record them into your DAW. It typically includes inputs and outputs for connecting different types of equipment, as well as a built-in audio interface.
  3. Studio monitors: Studio monitors are specialized speakers that are designed specifically for use in recording studios. They are designed to be accurate and neutral, allowing you to hear the true sound of your tracks.
  4. Microphone: A good microphone is essential for recording vocals and instruments. There are many different types of microphones available, each with their own characteristics and uses. Some popular options for music production include condenser microphones, dynamic microphones, and ribbon microphones.
  5. Virtual instruments: Virtual instruments are software programs that mimic the sound of real instruments. They can be used to create sounds that would be difficult or impossible to record in a traditional studio setting. Some popular virtual instruments include synthesizers, drum machines, and piano VSTs.
  6. Effects plugins: Effects plugins are software programs that can be used to apply effects to audio tracks in your DAW. There are many different types of effects plugins available, including EQs, compressors, reverb, and delay.
  7. Sample libraries: Sample libraries are collections of audio samples that can be used in your music production. They can include sounds of real instruments, as well as synthesized and manipulated sounds.
  8. Reference tracks: Reference tracks are songs that you use as a reference when working on your own music. They can be helpful for getting a sense of how your tracks should sound and for making mix and mastering decisions.

While this list is by no means exhaustive, it covers some of the essential tools and software that every music producer should have in their arsenal. By investing in these tools and software, you can improve the quality of your music and streamline your workflow.

Posted on Leave a comment

Creating a hit song: a step-by-step breakdown

Creating a hit song: a step-by-step breakdown

Creating a hit song is no easy feat, but with the right process and a bit of luck, it’s possible to create a track that resonates with listeners and becomes a hit. Here’s a step-by-step breakdown of the process of creating a hit song:

  1. Start with an idea: It all starts with an idea for a song. This can come from anywhere – a melody that pops into your head, a feeling you want to convey, or a specific message you want to communicate. Once you have an idea for a song, the next step is to start developing it.
  2. Write the song: There are many different approaches to writing a song, and what works best for you will depend on your style and the type of music you make. Some songwriters start with lyrics, while others begin with a chord progression or a melody. No matter what your process is, it’s important to keep refining your song until you’re happy with it.
  3. Record a demo: Once you have a rough draft of your song, the next step is to record a demo. This is a rough recording of the song that can be used to get a sense of how it will sound and make any necessary changes. Demos are typically recorded with a minimal setup, such as a microphone and a laptop, and are used as a reference for the final recording.
  4. Produce the song: After the demo is complete, the next step is to produce the song. This involves taking all of the recorded elements of the song – such as vocals, instruments, and samples – and arranging them into a cohesive track. This can involve adding effects, processing the sounds, and balancing the levels of each element.
  5. Record the final version: Once the production of the song is complete, it’s time to record the final version. This typically involves recording each element of the song separately and then mixing them together to create the final track. It’s important to take your time and get the best possible recording of each element, as this will make a big difference in the final sound of the song.
  6. Mix and master the song: After the final recording is complete, the next step is to mix and master the song. Mixing involves balancing the levels of all the elements in the song and applying effects to shape the sound. Mastering is the final step in the process and involves optimizing the overall sound of the track and ensuring that it sounds good on a variety of playback systems.
  7. Promote and release the song: Once the song is complete, it’s time to release it to the world. This can involve uploading the track to streaming platforms, promoting the song on social media and other platforms, and potentially releasing it as part of an EP or album.

Creating a hit song is a complex process that involves a lot of hard work and dedication. However, with the right approach and a bit of luck, it’s possible to create a track that resonates with listeners and becomes a hit.

Posted on Leave a comment

The secrets of a successful music producer

The secrets of a successful music producer

Being a successful music producer involves more than just technical skills – it also requires creativity, business savvy, and the ability to adapt to the constantly changing music industry. Here are some secrets to success for music producers:

  1. Develop your technical skills: While technical skills are not the only factor in being a successful music producer, they are an important foundation. Make sure to continually learn and improve your skills in areas such as recording, mixing, and mastering.
  2. Learn how to market yourself: In today’s music industry, it’s important for music producers to be able to market themselves and their music effectively. This can involve building a strong online presence, networking with other industry professionals, and leveraging social media and other platforms to promote your work.
  3. Be open to collaboration: Collaborating with other musicians and producers can bring new ideas and perspectives to your music and help you reach a wider audience. Don’t be afraid to reach out to other artists and offer your services as a producer.
  4. Stay up to date with industry trends: The music industry is constantly evolving, and it’s important to stay up to date with new technologies, techniques, and trends. This can involve taking online courses or workshops, or just staying informed about what’s happening in the industry.
  5. Don’t be afraid to take risks: Making great music often involves taking risks and stepping outside your comfort zone. Don’t be afraid to try new things and experiment with different sounds and styles.
  6. Learn from your mistakes: Everyone makes mistakes in the music production process, and it’s important to learn from them and use them as opportunities for growth. Don’t get discouraged by setbacks – instead, use them as opportunities to improve your skills.
  7. Build a strong network: Building a strong network of industry professionals can be crucial for success as a music producer. This can involve networking at events, joining online communities and forums, and collaborating with other artists.
  8. Don’t give up: Making it as a music producer takes time and dedication. Don’t get discouraged if you’re not seeing immediate success – keep working towards your goals and don’t give up.

By following these secrets, you can increase your chances of success as a music producer. Remember that making great music takes time and practice, so don’t get discouraged and keep working towards your goals.

Posted on Leave a comment

The most common mistakes in music production and how to avoid them

The most common mistakes in music production and how to avoid them

As a music producer, it’s easy to make mistakes – especially if you’re just starting out. From recording problems to mixdowns that don’t quite work, there are many potential pitfalls in the music production process. Here are some of the most common mistakes in music production and how to avoid them:

  1. Poor recording techniques: One of the most common mistakes in music production is poor recording techniques. This can include using the wrong microphone for the instrument or vocal you’re recording, positioning the microphone incorrectly, or using improper gain staging. To avoid these mistakes, make sure to do your research and understand the best practices for recording different instruments and vocals.
  2. Poor mixdown techniques: Another common mistake is a poorly mixed track. This can include unbalanced levels, muddy-sounding mixes, or a lack of clarity in the mix. To avoid these mistakes, make sure to balance the levels of all the elements in your mix and use equalization, compression, and other effects to shape the sound of each instrument. It can also be helpful to use reference tracks to guide your mix.
  3. Not paying attention to the arrangement: The arrangement of a song – the way that the various elements are put together – is crucial to its success. If the arrangement is poorly executed, it can make the song feel disjointed or uninteresting. To avoid this mistake, pay close attention to the arrangement of your tracks and make sure that each element is contributing to the overall feel and direction of the song.
  4. Using low-quality samples and virtual instruments: Another common mistake is using low-quality samples and virtual instruments in your tracks. These can sound cheap and unprofessional, and can take away from the overall quality of your music. To avoid this mistake, make sure to use high-quality samples and virtual instruments that are recorded well and suit the style of music you’re making.
  5. Not leaving enough headroom: Headroom refers to the space between the highest peak of a track and the maximum level that the track can reach without distorting. Not leaving enough headroom can lead to distorted tracks and a lack of dynamic range. To avoid this mistake, make sure to leave enough headroom in your tracks and use a limiter to catch any accidental peaks.
  6. Not properly organizing your tracks: If your tracks are a mess, it can be difficult to work on them and make changes. To avoid this mistake, make sure to keep your tracks organized and label them clearly. This will make it easier to work on your tracks and make changes as needed.
  7. Not seeking feedback: It’s easy to get stuck in your own head when working on music, and it can be helpful to get feedback from others to help improve your tracks. To avoid the mistake of not seeking feedback, consider sharing your tracks with other musicians or joining a community or online forum where you can get constructive criticism.
  8. Not learning and improving: The music industry is constantly evolving, and it’s important to stay up to date with new techniques and technologies. To avoid falling behind, make sure to continuously learn and improve your skills. This can involve taking online courses or workshops, or just spending time experimenting and learning on your own.

By avoiding these common mistakes, you can improve the quality of your music and take your production skills to the next level. Remember that making great music takes time and practice, so don’t get discouraged and keep working towards your goals.