Posted on Leave a comment

Music Production Tips: Crafting the Perfect Sound

Music Production Tips: Crafting the Perfect Sound

Introduction
In the dynamic world of music production, staying ahead of the curve is essential for creating the perfect sound. Whether you’re a seasoned producer or just starting, these music production tips will help you refine your craft. Let’s delve into the art of music production and uncover the secrets to achieving stellar results.

Music Production Tips: Setting the Stage
Music Production Tips: The Foundation of Creativity
The heart of music production lies in creativity. To bring your musical vision to life, consider these foundational tips:

Harness the Power of Inspiration: Seek inspiration from various genres, art forms, and life experiences. This diverse wellspring will fuel your creativity.

Master Your DAW (Digital Audio Workstation): Become proficient with your chosen DAW. It’s your canvas, and knowing it inside out will streamline your creative process.

Quality over Quantity: Instead of rushing, focus on creating high-quality tracks. Attention to detail can make your music stand out.

Music Production Tips: Sound Engineering Secrets
A stellar track demands impeccable sound engineering. Here are some tips to refine your sound:

Equalization Mastery: Learn to EQ effectively. Balancing frequencies can drastically improve your mix’s clarity.

Compression Techniques: Compressors are your best friend. They help control dynamics and ensure a polished sound.

Reverb and Delay Magic: Experiment with reverb and delay to add depth and space to your tracks.

Music Production Tips: The Art of Arrangement

Arrangement is key to crafting a memorable composition. Follow these tips:

Start with a Strong Hook: A catchy melody or riff can grab your audience’s attention from the start.

Build Dynamic Progression: Create a musical journey by varying elements like intensity, instrumentation, and rhythm throughout your track.

Bridge the Gaps: Transitions should be seamless, guiding the listener from one section to another effortlessly.

Music Production Tips: Mixing and Mastering
Mixing Precision: Invest time in mixing, ensuring that each element sits perfectly in the mix.

Mastering Finesse: Mastering adds the final polish. Trust a professional if needed, as this is crucial for radio-ready sound.

Music Production Tips: Collaborate and Seek Feedback
Collaboration Benefits: Don’t hesitate to collaborate with other musicians. Fresh perspectives can lead to remarkable results.

Feedback Loop: Seek constructive feedback from peers and mentors. It’s a valuable tool for growth.

FAQs (Frequently Asked Questions)
How can I improve my music production skills?
Improving your music production skills involves constant practice, learning from industry experts, and staying updated with the latest trends.

What equipment do I need for music production?
Essentials include a computer, DAW software, quality headphones, audio interface, and MIDI controller. Advanced setups may include microphones and studio monitors.

How do I avoid creative blocks in music production?
To overcome creative blocks, try new techniques, change your environment, collaborate with others, or revisit unfinished projects for fresh inspiration.

Is formal music education necessary for music production?
While formal education can be beneficial, many successful producers are self-taught. What matters most is dedication, passion, and a willingness to learn.

What’s the role of mastering in music production?
Mastering is the final step that ensures your music is polished and ready for distribution. It involves enhancing the overall sound and making it suitable for various playback systems.

How can I promote my music effectively?
Effective music promotion involves building an online presence, utilizing social media, networking, and possibly seeking the help of a music promotion agency.

Conclusion
In the world of music production, the journey to excellence is an ongoing process. These music production tips serve as your compass, guiding you towards creating the perfect sound. Remember, each producer’s path is unique, and with dedication, practice, and a dash of creativity, you can achieve musical greatness.

Posted on Leave a comment

How to Use Sampling in Sound Design: Techniques for Creating Original Sounds.

How to Use Sampling in Sound Design: Techniques for Creating Original Sounds.

“Unlock Your Creative Potential with Sampling: Techniques for Crafting Unique Sounds!”

Introduction

Sampling is a powerful tool for sound design, allowing you to create unique and original sounds from existing audio sources. It can be used to create soundscapes, add texture to a track, or even create entirely new sounds. In this article, we’ll explore some of the techniques used to sample audio and create original sounds. We’ll look at how to choose the right samples, how to manipulate them, and how to combine them to create something new. We’ll also discuss some of the creative possibilities that sampling can open up. By the end of this article, you’ll have a better understanding of how to use sampling in sound design and be able to create your own unique sounds.

Exploring the Basics of Sampling in Sound Design: An Introduction to the Process

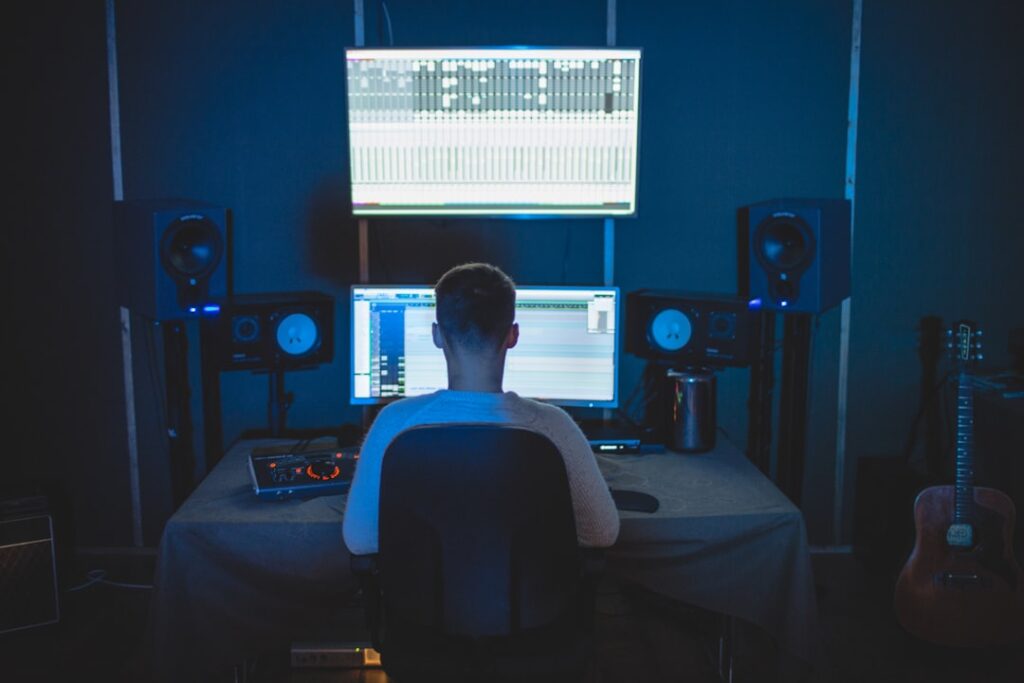
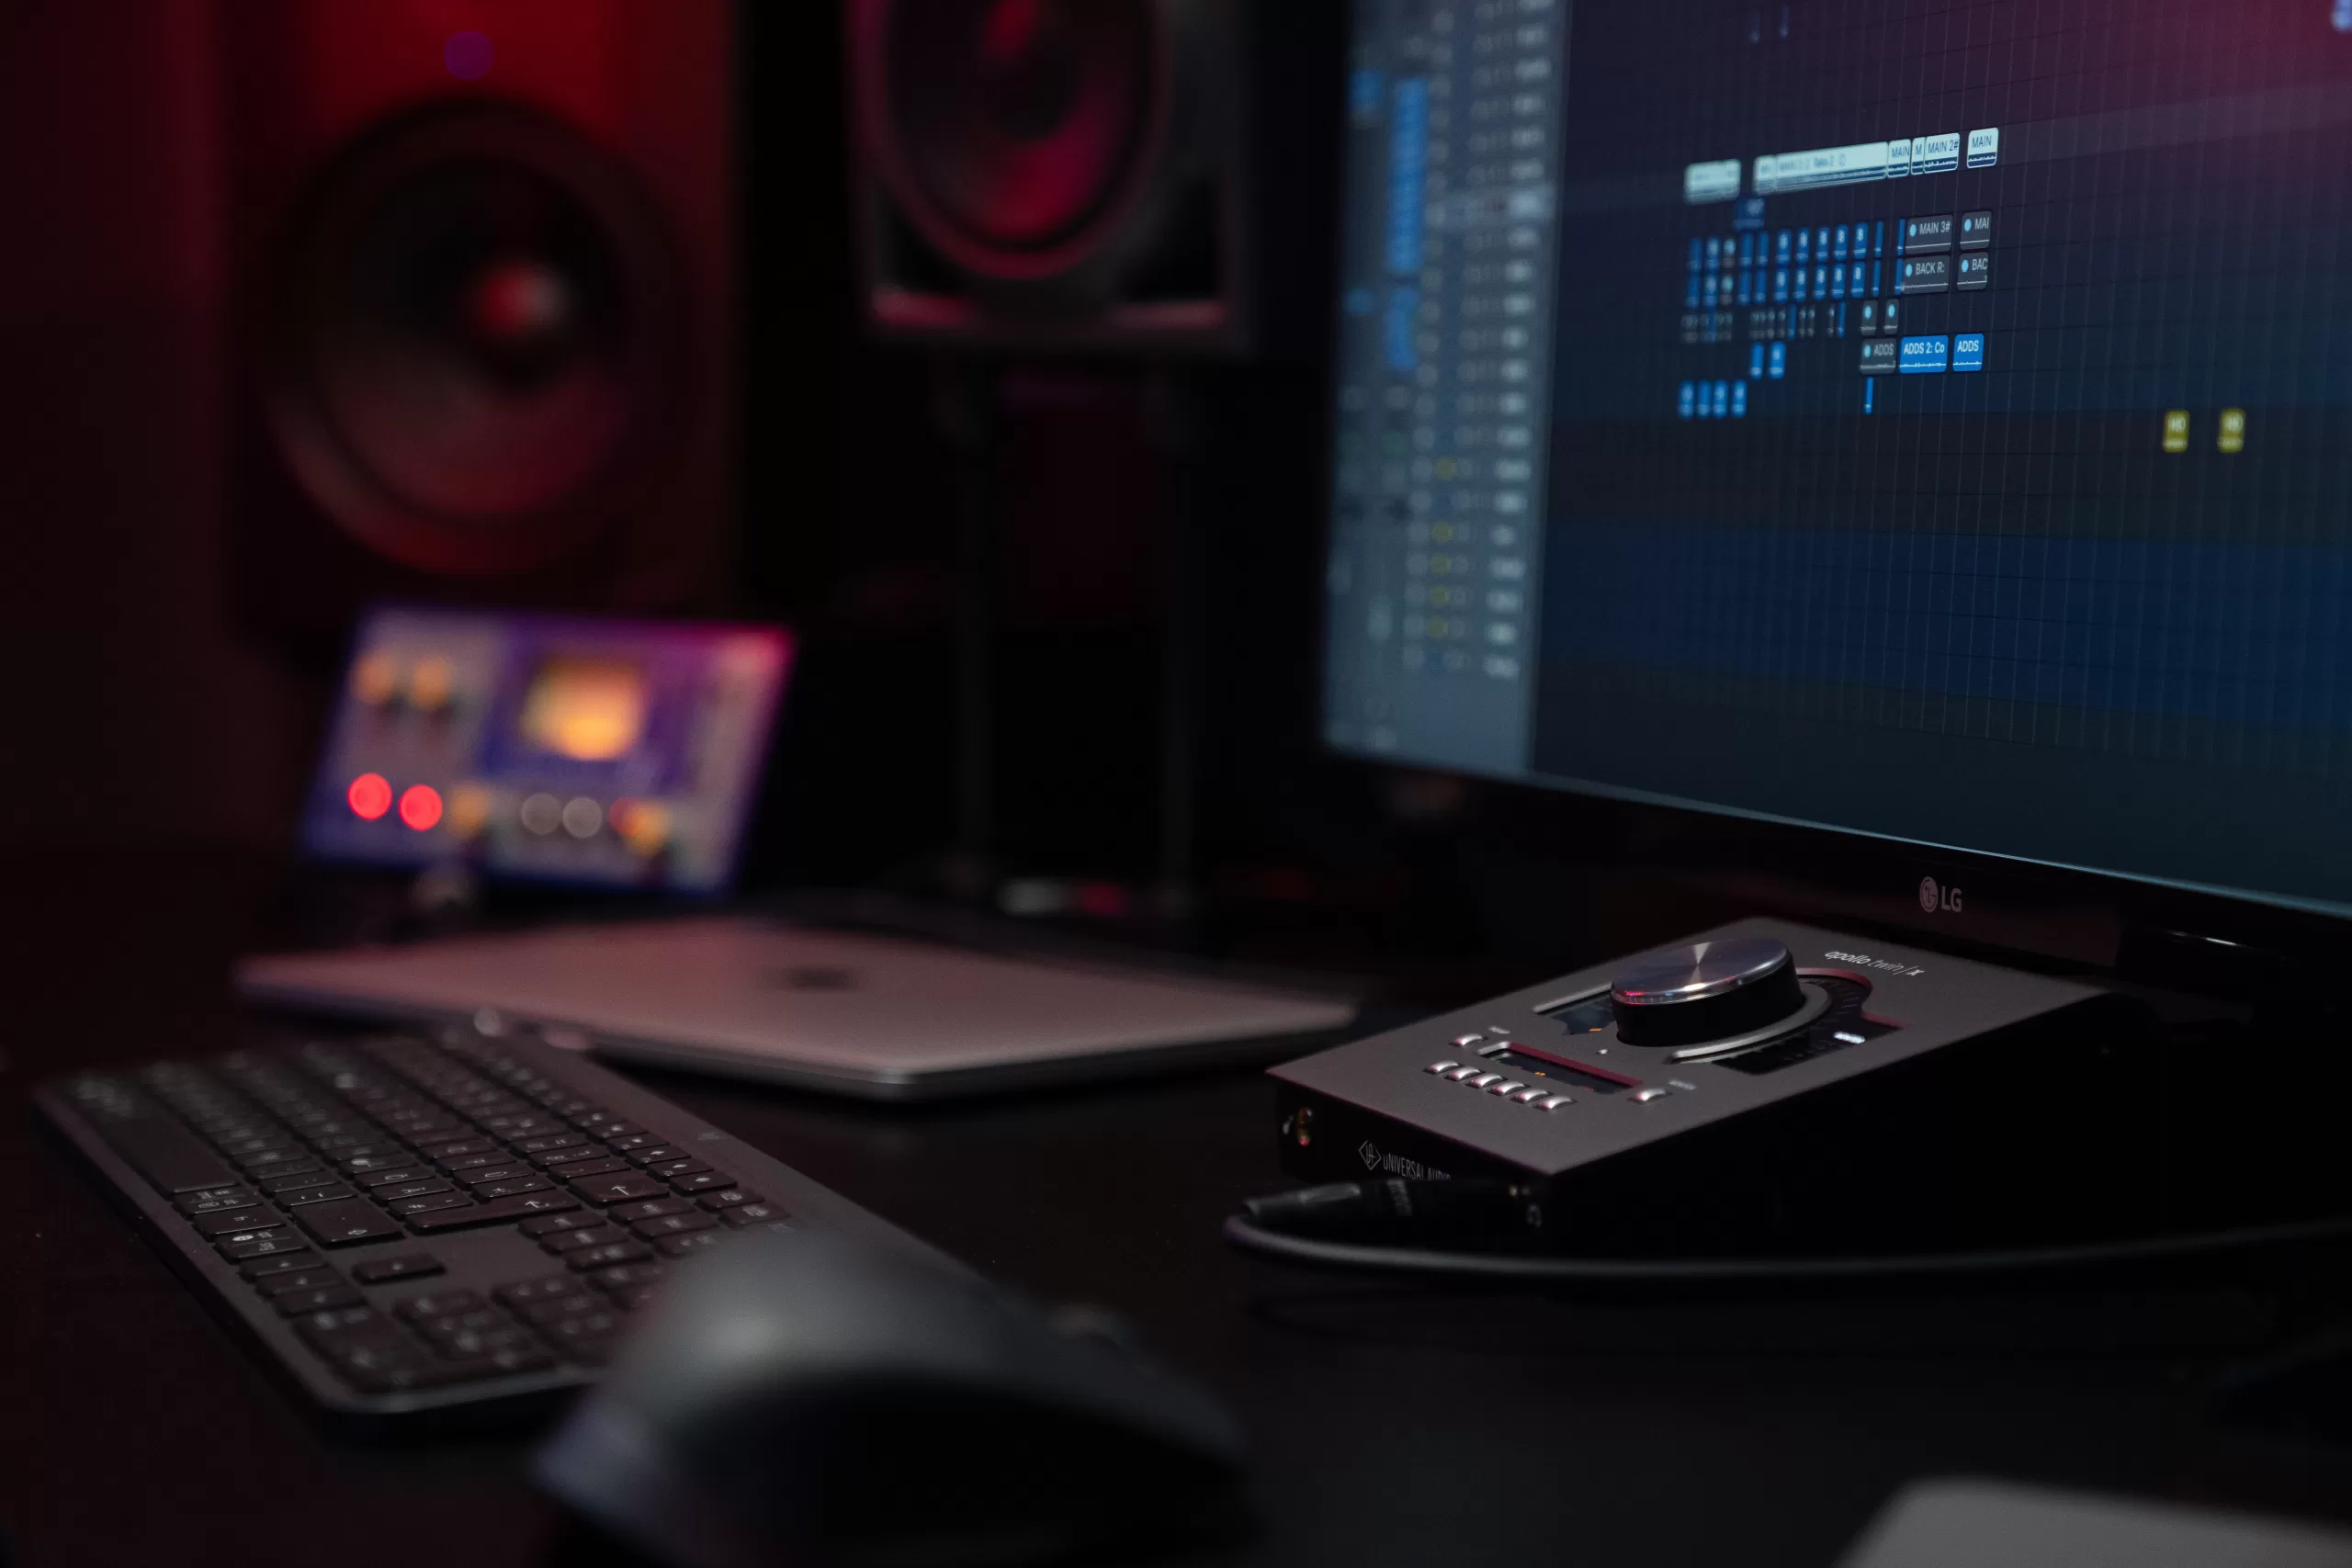
Sampling is an essential part of sound design, allowing producers and sound designers to create unique and interesting sounds. It involves taking a sound from one source and manipulating it to create something new. This process can be used to create a wide range of sounds, from subtle nuances to complex soundscapes. In this article, we will explore the basics of sampling and how it can be used to create interesting and unique sounds.

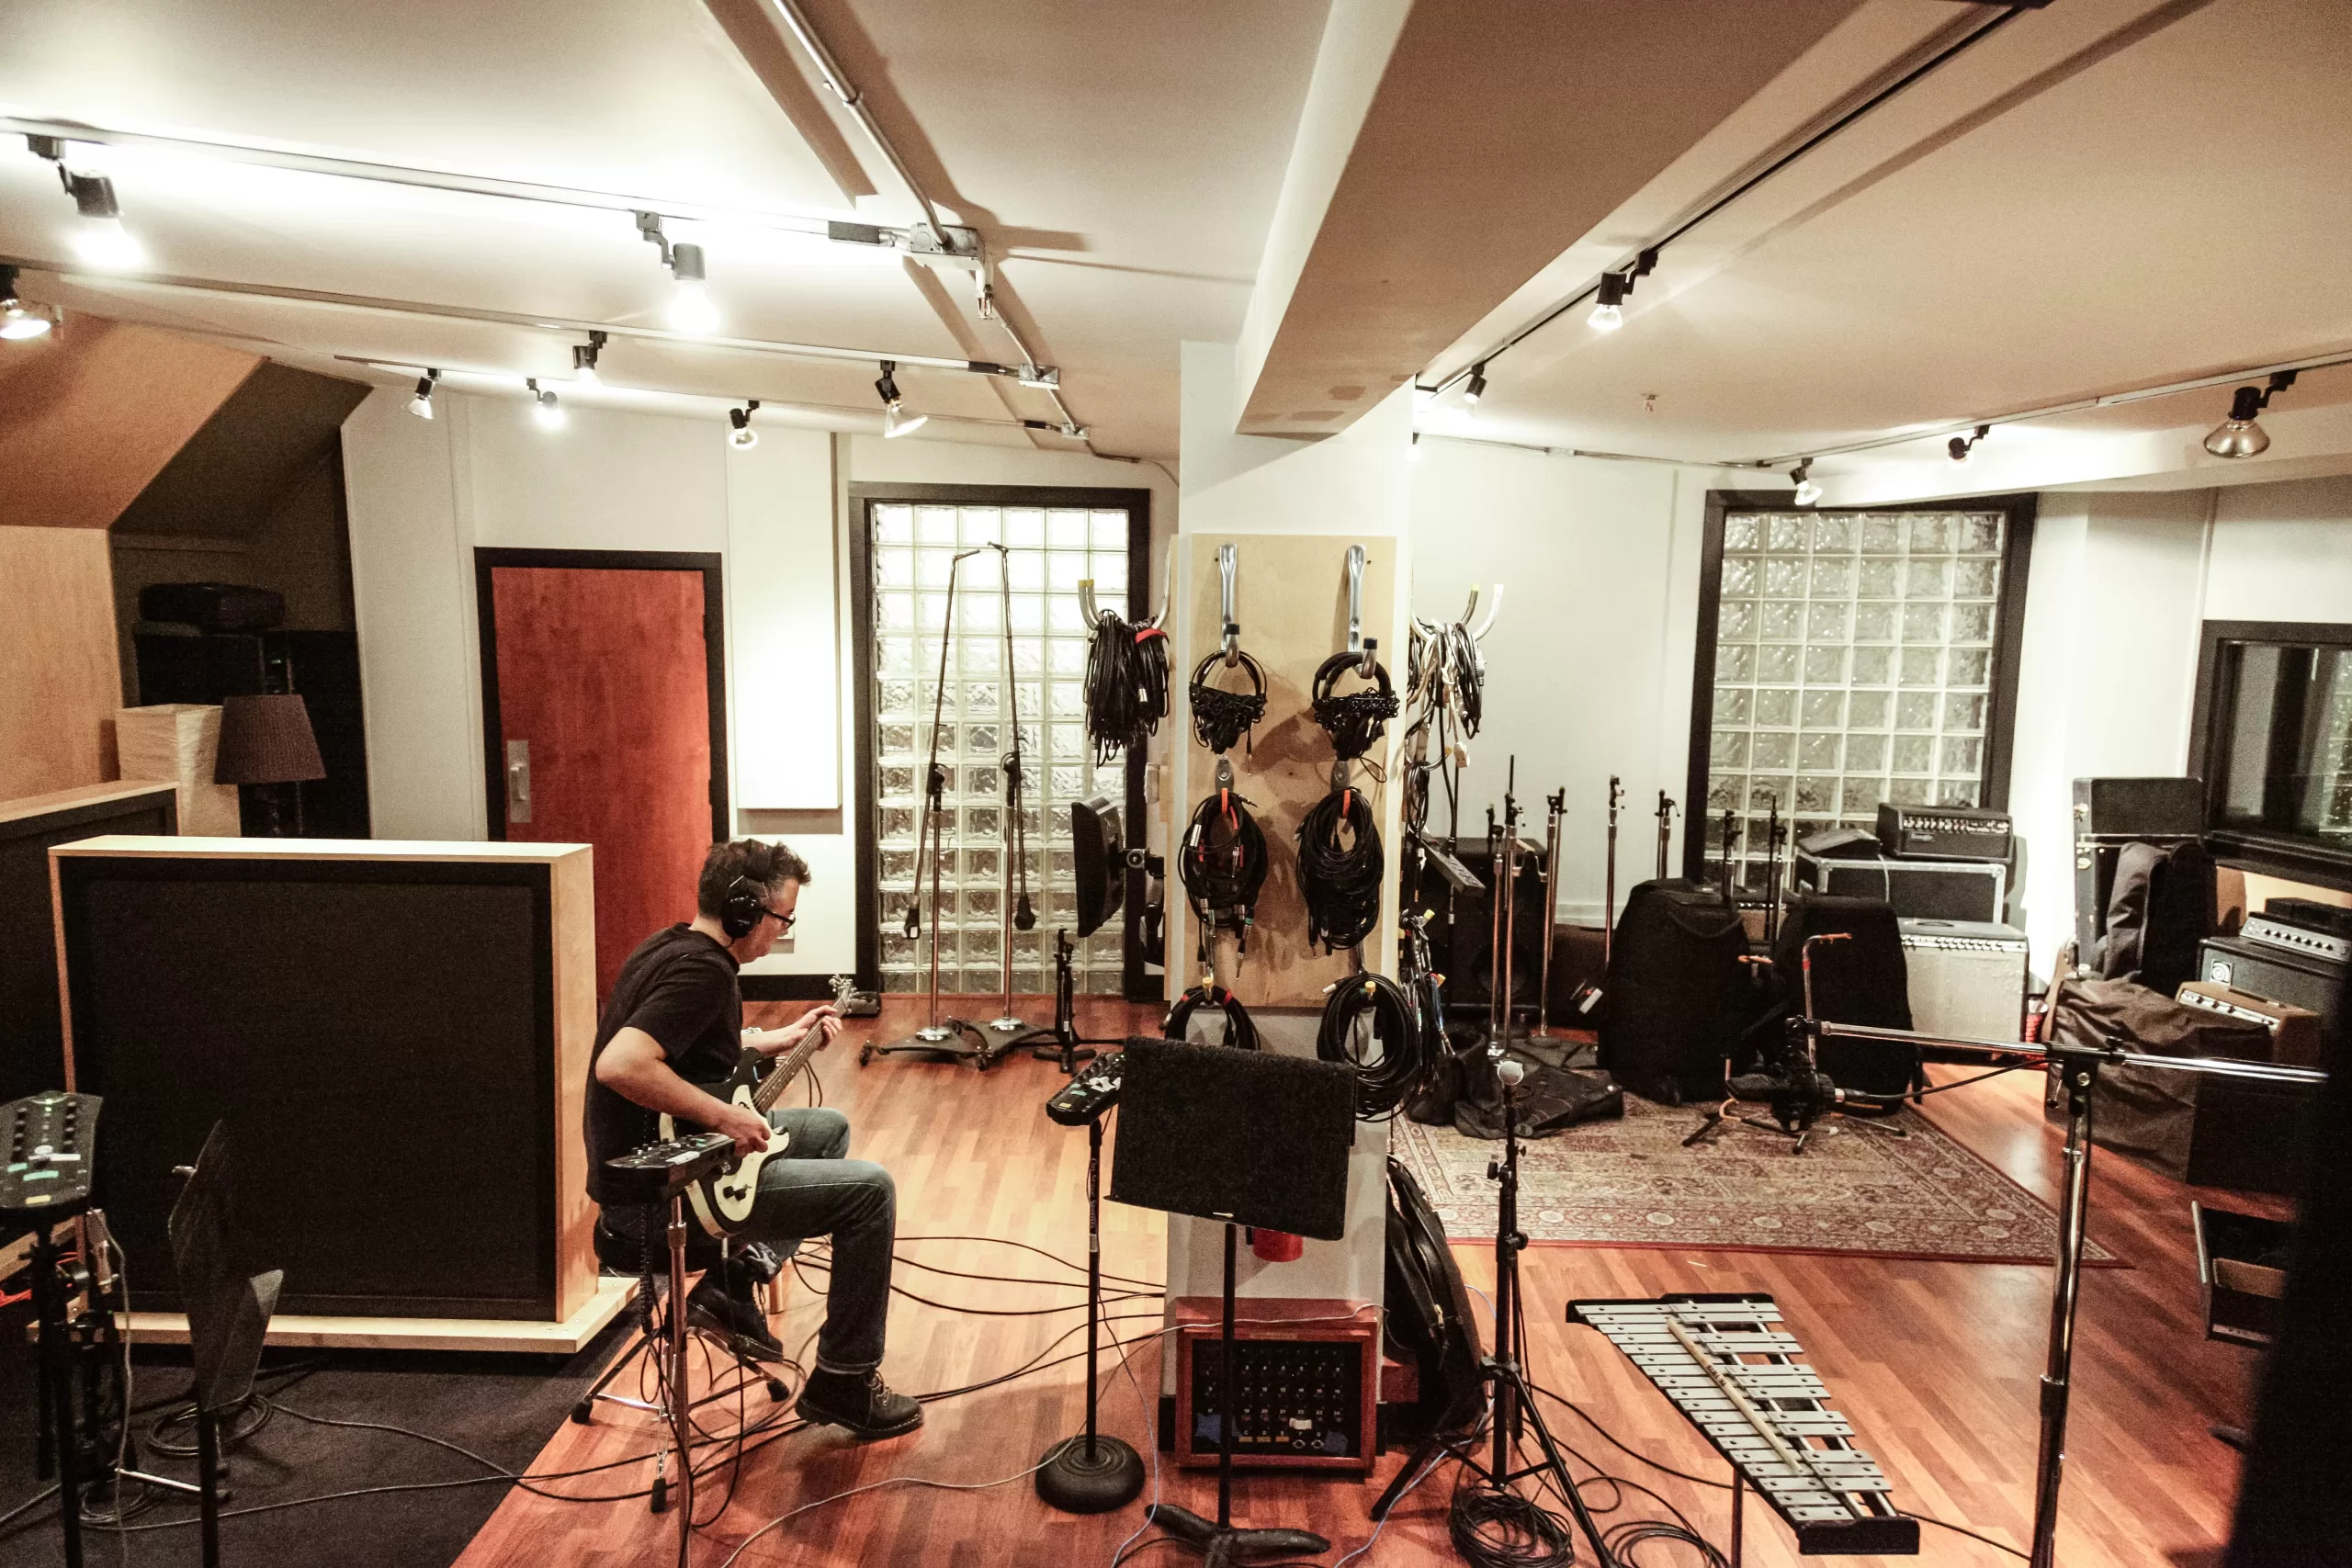
The first step in sampling is to identify the source material. This can be anything from a recorded sound to a synthesized sound. Once the source material has been identified, it can be manipulated in a variety of ways. This includes changing the pitch, adding effects, or even reversing the sound.

Once the source material has been manipulated, it can be used to create a new sound. This can be done by layering multiple samples together or by combining them with other sounds. This process can be used to create a wide range of sounds, from subtle nuances to complex soundscapes.

Sampling can also be used to create unique textures and atmospheres. By combining multiple samples, producers and sound designers can create unique soundscapes that are difficult to replicate with traditional instruments. This can be used to create a unique atmosphere for a track or to add a unique texture to a sound.

Finally, sampling can be used to create unique sound effects. By manipulating the source material, producers and sound designers can create unique sound effects that are difficult to replicate with traditional instruments. This can be used to add a unique element to a track or to create a unique sound effect for a scene.

Sampling is an essential part of sound design and can be used to create a wide range of sounds. By understanding the basics of sampling, producers and sound designers can create unique and interesting sounds that are difficult to replicate with traditional instruments.

Creative Techniques for Crafting Unique Samples in Sound Design

Sound design is an important part of creating music and other audio projects. It involves creating and manipulating sounds to create a desired effect. Crafting unique samples is an important part of sound design, as it allows for more creative and interesting results. Here are some creative techniques for crafting unique samples in sound design.

1. Layering: Layering is a great way to create unique samples. By combining multiple sounds together, you can create a unique sound that is more complex and interesting than any of the individual sounds. You can layer different types of sounds, such as drums, synths, and vocals, to create a unique sample.

2. Pitch Shifting: Pitch shifting is a great way to create unique samples. By changing the pitch of a sound, you can create a completely different sound. You can also use pitch shifting to create harmonies and melodies.

3. Reversing: Reversing is another great way to create unique samples. By reversing a sound, you can create a completely different sound. You can also use reversing to create interesting rhythms and textures.

4. Time Stretching: Time stretching is a great way to create unique samples. By stretching or compressing a sound, you can create a completely different sound. You can also use time stretching to create interesting rhythms and textures.

5. Filtering: Filtering is a great way to create unique samples. By filtering a sound, you can create a completely different sound. You can also use filtering to create interesting rhythms and textures.

These are just a few of the creative techniques for crafting unique samples in sound design. With these techniques, you can create unique and interesting sounds that will make your audio projects stand out.

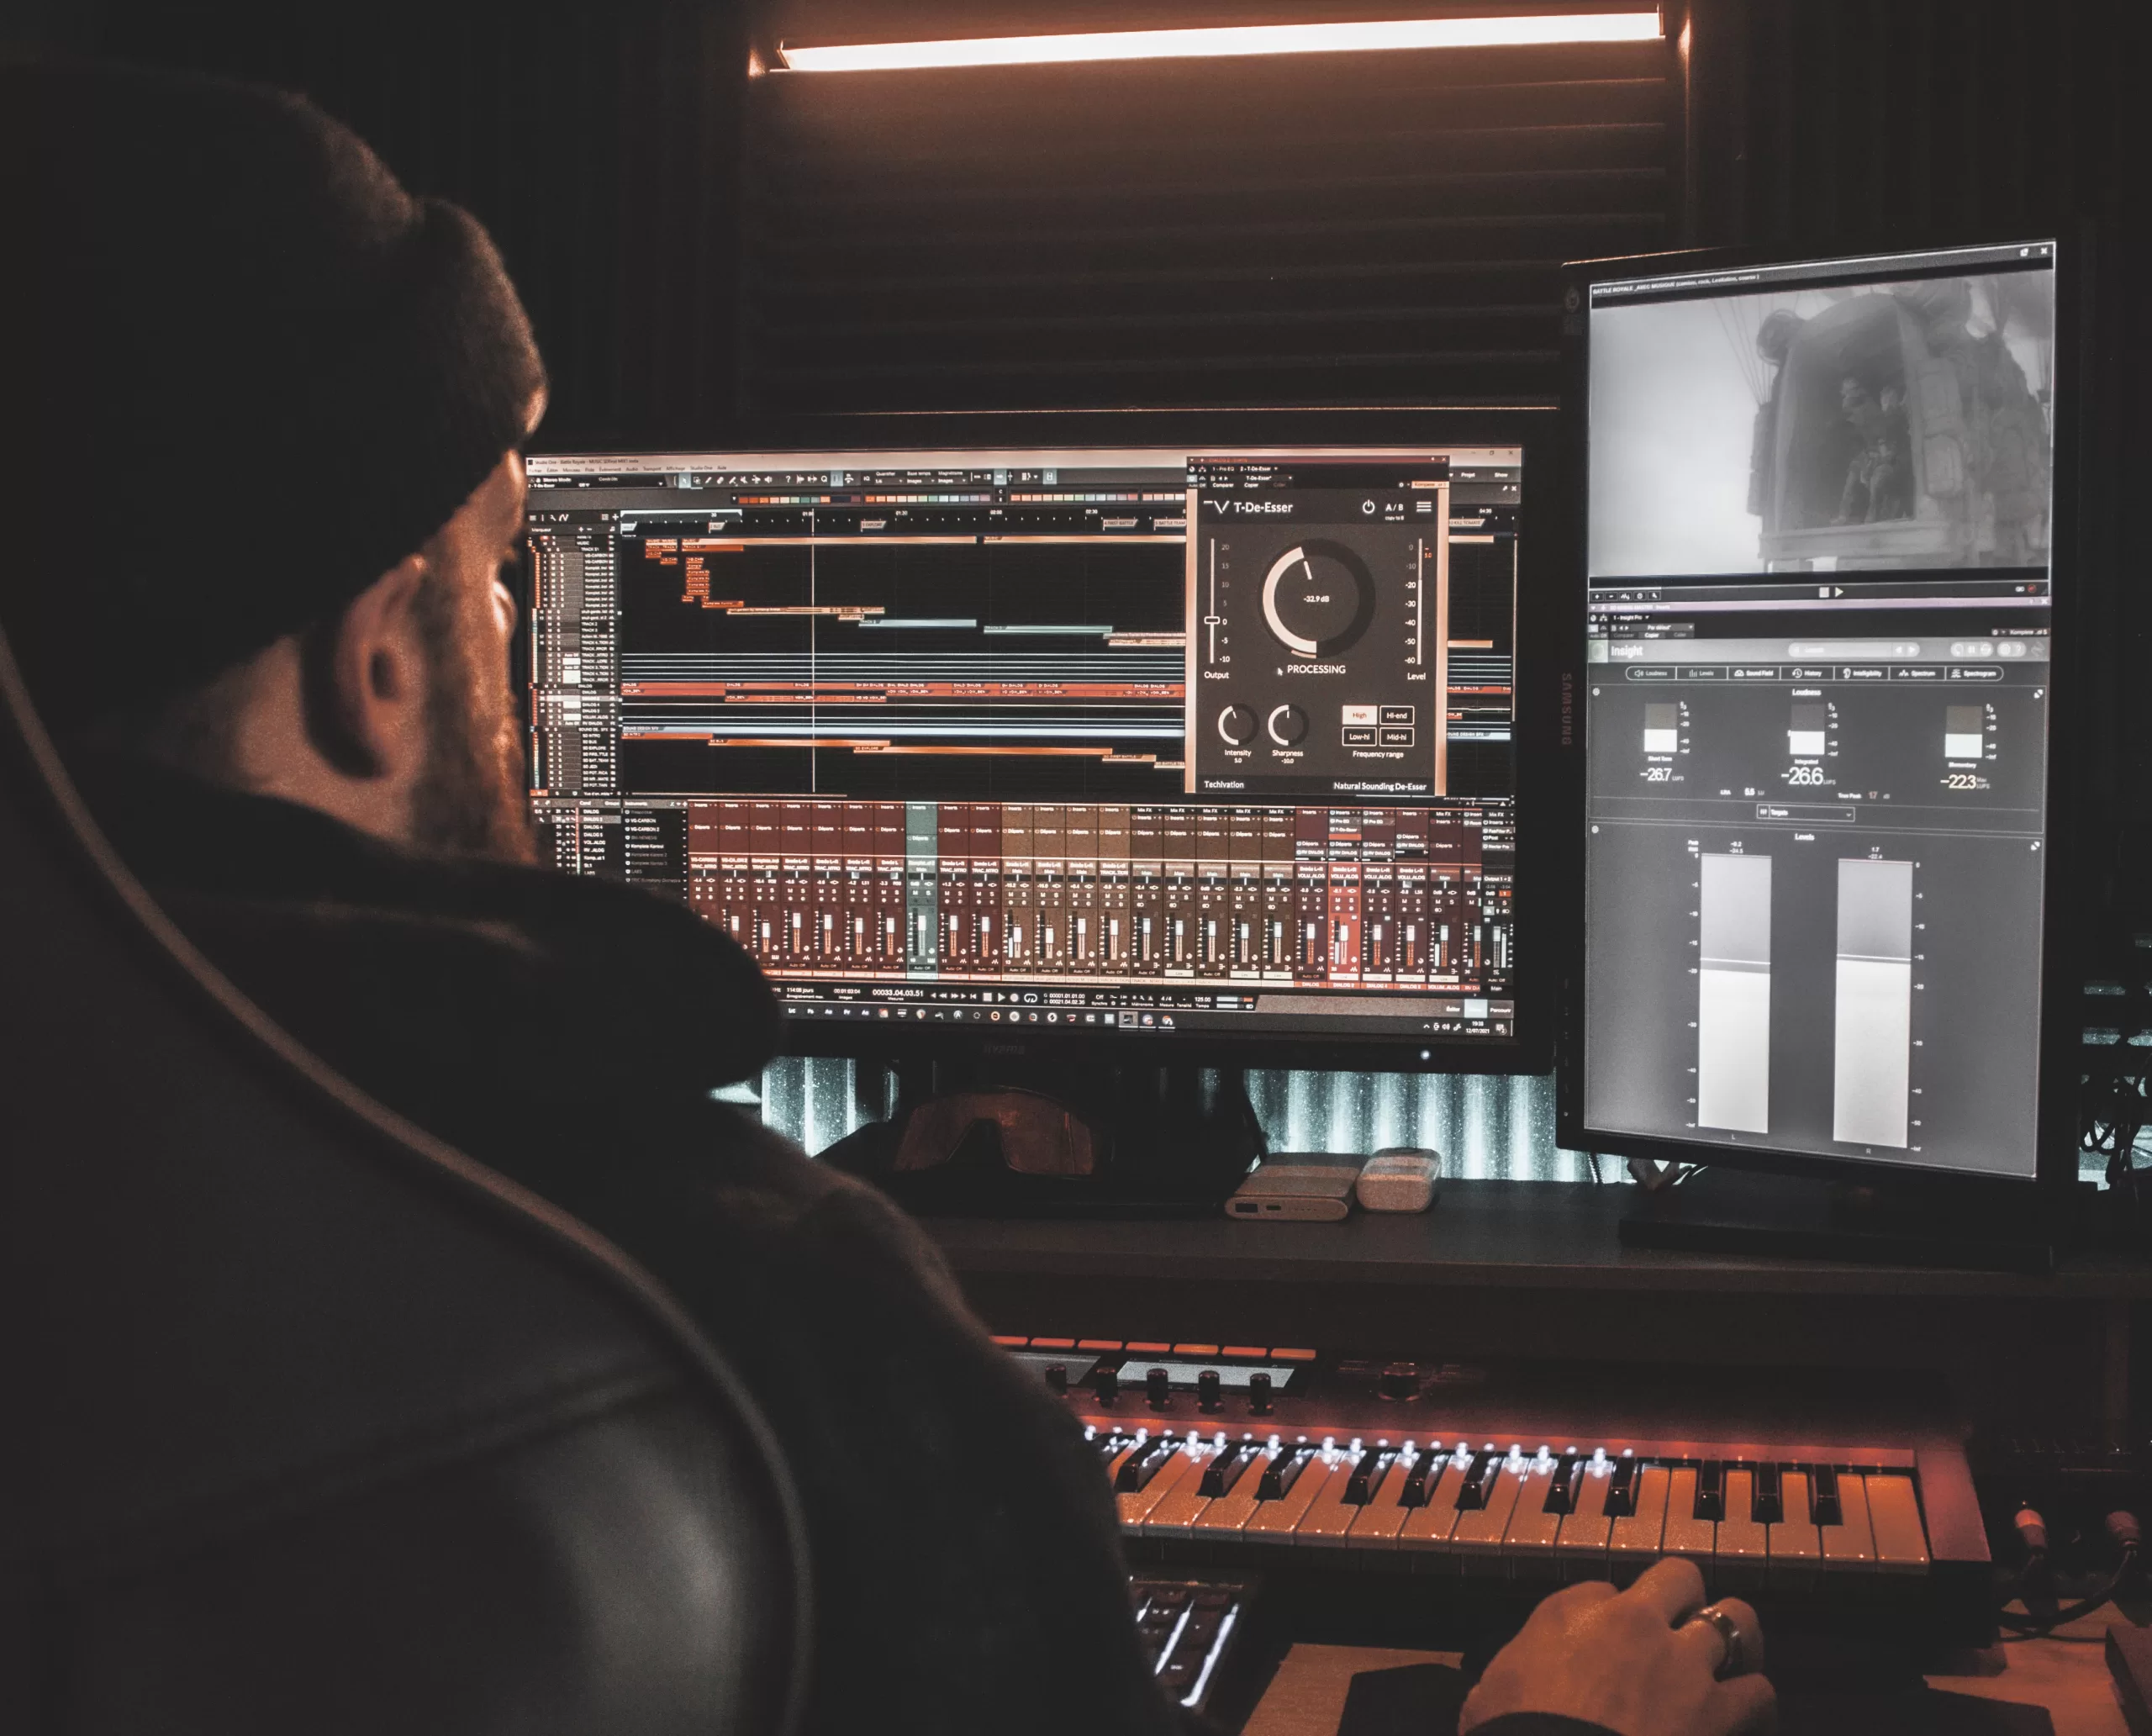
How to Layer Samples to Create Complex Sounds in Sound DesignHow to Use Sampling in Sound Design: Techniques for Creating Original Sounds.

Layering samples is a powerful technique used in sound design to create complex sounds. It involves combining multiple samples to create a single sound that is greater than the sum of its parts. This technique can be used to create a wide range of sounds, from subtle textures to powerful impacts.

The first step in layering samples is to select the samples you want to use. It is important to choose samples that will work well together and complement each other. Consider the frequency range, texture, and dynamics of each sample. You may also want to consider the length of the samples and how they will fit together.

Once you have selected the samples, you can begin to layer them. Start by adjusting the volume of each sample so that they are balanced. You may also want to adjust the panning of each sample to create a wider stereo image.

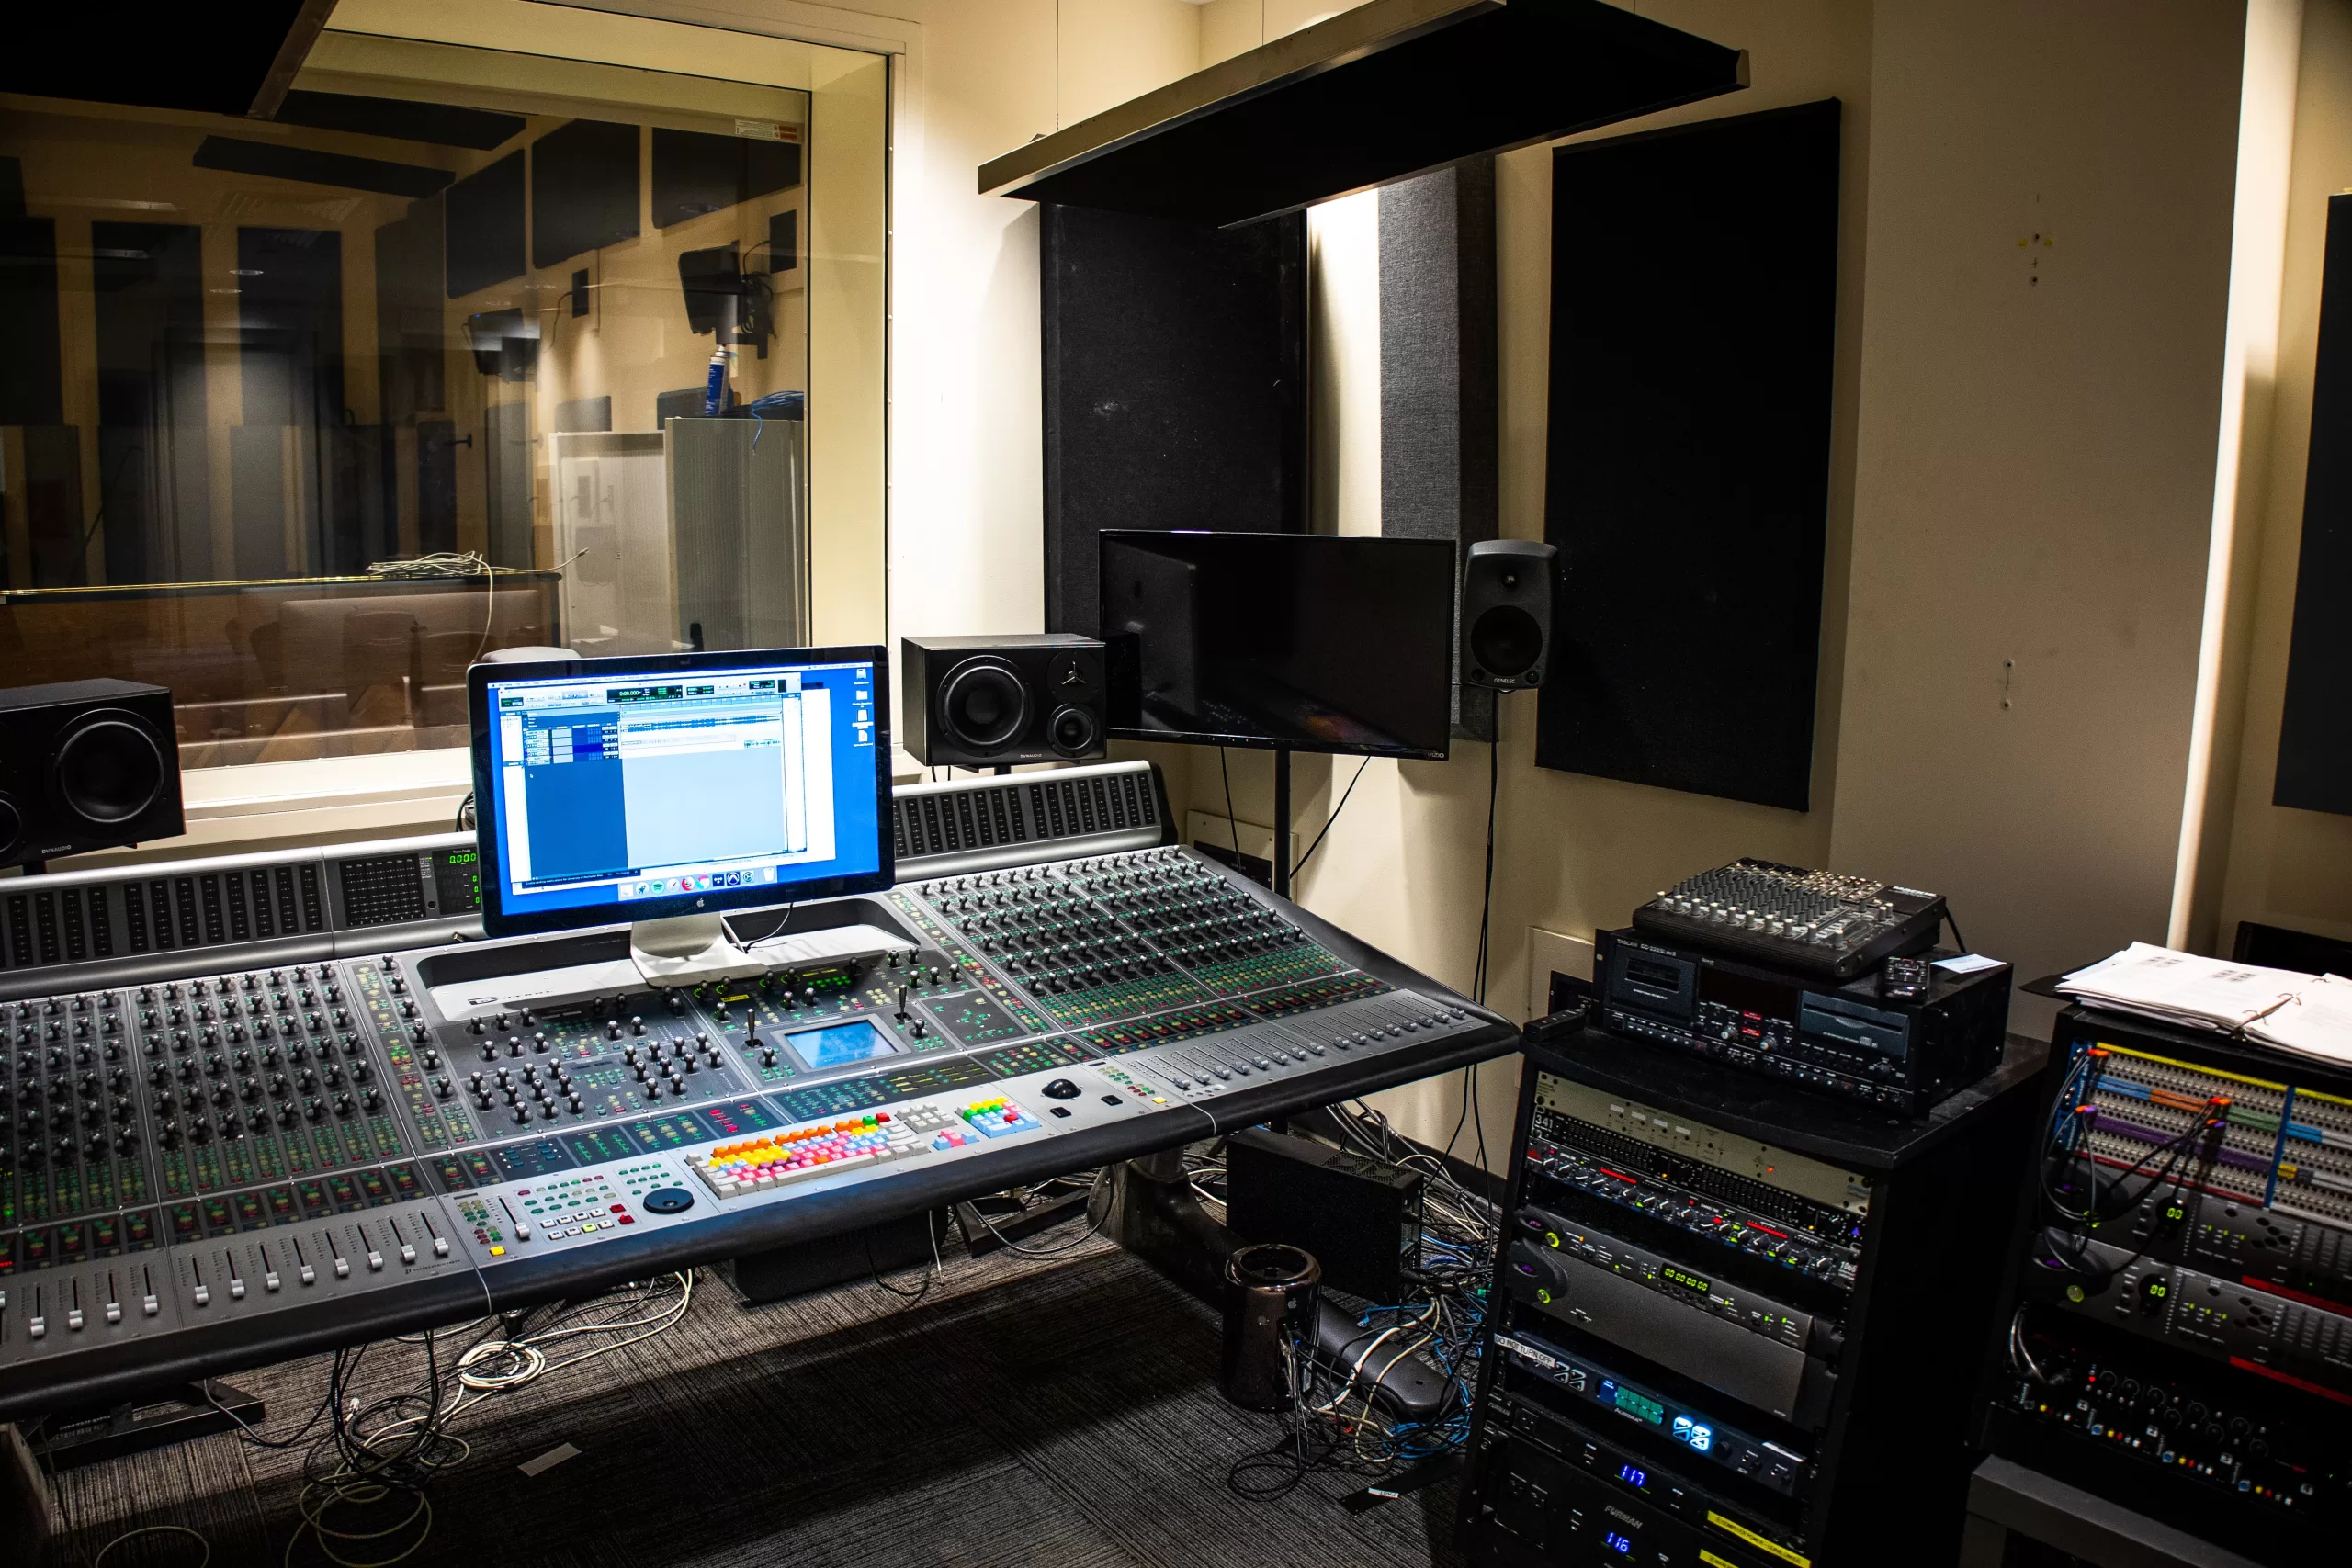
Next, you can begin to shape the sound by adding effects. Reverb and delay can be used to create a sense of space and depth. EQ can be used to shape the frequency spectrum of the sound. Compression can be used to add punch and glue the samples together.

Finally, you can automate the parameters of the samples and effects to create movement and interest. Automation can be used to create dynamic changes in the sound over time.

Layering samples is a powerful technique for creating complex sounds in sound design. By combining multiple samples and shaping them with effects and automation, you can create unique and interesting sounds.

Using Automation to Enhance Samples in Sound Design

In the world of sound design, automation is a powerful tool that can be used to enhance samples and create unique and interesting sounds. Automation is the process of controlling the parameters of a sound or effect over time, allowing for dynamic changes in the sound. By using automation, sound designers can create complex and interesting sounds that would otherwise be impossible to achieve.

Automation can be used to control a variety of parameters, such as volume, panning, filter cutoff, and more. By automating these parameters, sound designers can create dynamic changes in the sound over time. For example, a sound designer could automate the volume of a sample to create a crescendo or decrescendo effect. They could also automate the filter cutoff of a sample to create a sweeping effect. Automation can also be used to create rhythmic patterns, such as a pulsing effect.

Automation can also be used to enhance samples. By automating the parameters of a sample, sound designers can create unique and interesting sounds that would otherwise be impossible to achieve. For example, a sound designer could automate the filter cutoff of a sample to create a sweeping effect. They could also automate the panning of a sample to create a stereo effect. Automation can also be used to create rhythmic patterns, such as a pulsing effect.

In addition to enhancing samples, automation can also be used to create complex and interesting soundscapes. By automating multiple parameters at once, sound designers can create intricate and dynamic soundscapes that would otherwise be impossible to achieve.

Overall, automation is a powerful tool that can be used to enhance samples and create unique and interesting sounds. By automating the parameters of a sample, sound designers can create dynamic changes in the sound over time, as well as create complex and interesting soundscapes. Automation is an essential tool for sound designers, and can be used to create unique and interesting sounds that would otherwise be impossible to achieve.

Tips for Choosing the Right Samples for Your Sound Design Projects

1. Consider the type of project you are working on. Different types of projects require different types of samples. For example, a film score may require orchestral samples, while a hip-hop track may require samples of drums and bass.

2. Think about the genre of music you are creating. Different genres require different types of samples. For example, a rock track may require samples of electric guitars, while a jazz track may require samples of horns and pianos.

3. Consider the sound quality of the samples. Make sure the samples you choose are of high quality and are suitable for the project you are working on.

4. Think about the tempo of the project. Make sure the samples you choose are in the same tempo as the project you are working on.

5. Consider the length of the samples. Make sure the samples you choose are long enough to fit the project you are working on.

6. Think about the dynamics of the samples. Make sure the samples you choose have the right dynamic range for the project you are working on.

7. Consider the sound palette of the samples. Make sure the samples you choose have the right sound palette for the project you are working on.

8. Think about the texture of the samples. Make sure the samples you choose have the right texture for the project you are working on.

9. Consider the emotion of the samples. Make sure the samples you choose have the right emotion for the project you are working on.

10. Think about the overall feel of the samples. Make sure the samples you choose have the right overall feel for the project you are working on.

Conclusion

Sampling is a powerful tool for sound design that can be used to create unique and original sounds. It can be used to create a wide range of sounds, from subtle to extreme, and can be used to create a variety of textures and effects. With the right techniques and tools, sampling can be used to create a wide range of sounds that can be used in any type of music production. Sampling is a great way to add a unique and creative touch to any sound design project.

Posted on Leave a comment

The Importance of EQ in Music Production: How to Use it to Shape Your Sound”ringing

The Importance of EQ in Music Production: How to Use it to Shape Your Sound"ringing

EQ, or equalization, is an essential tool in music production that allows you to adjust the balance of frequencies in a mix. It is used to shape the sound of individual tracks and create a cohesive overall mix. In this article, we will discuss the importance of EQ in music production and how to use it to shape your sound.

The first step in using EQ effectively is understanding the different frequency ranges and what they are used for. The low frequencies, also known as bass, are typically used for drums and bass instruments. Mid-range frequencies, or mids, are used for vocals and most instruments. High frequencies, or treble, are used for things like cymbals and high-pitched instruments.

One of the most important uses of EQ is to balance the frequencies of different tracks in a mix. For example, if a vocal track is competing with a bass track for the same frequency range, using EQ to cut some of the low frequencies in the vocal track will help them sit better in the mix. EQ can also be used to enhance the presence of certain instruments or vocals in the mix by boosting their frequency range.

Another important use of EQ is to fix problem frequencies in a track. For example, if a bass guitar track has a boomy low-end frequency, using EQ to cut that frequency can help clean up the mix. Similarly, if a vocal track has a nasal quality, cutting the mid-range frequencies can help remove that nasal quality.

EQ can also be used to create a sense of space in a mix. By cutting certain frequencies in certain instruments, you can create room for other instruments to occupy that frequency range. This can help create a more open and dynamic mix.

When using EQ, it’s important to keep in mind that less is often more. It can be tempting to boost or cut frequencies to the extreme, but this can result in an unnatural and unbalanced mix. Instead, start with small adjustments and listen to the changes in the mix before making further adjustments.

A great way to use EQ is to use a reference track, which is a song in the same genre as yours, and use it as a reference while mixing. This will help you achieve a similar sound and balance. Another tip is to use a visual EQ, such as a graphic EQ, which allows you to see the frequencies and make adjustments based on what you see.

Another important technique to master when using EQ is filtering. Filtering is the process of removing specific frequencies from a track. High-pass filtering is used to remove low frequencies, while low-pass filtering is used to remove high frequencies. This can be useful for cleaning up a mix and removing unwanted frequencies.

Another type of filter is the band-pass filter, which allows you to remove a specific range of frequencies. This can be useful for removing a specific problem frequency in a track. For example, if a snare drum track has a ringy quality, you can use a band-pass filter to remove the specific frequency range that is causing the ringing sound.

EQ can also be used creatively to add character and interest to a mix. For example, you can use EQ to create a “telephone” effect on a vocal track, by cutting the high frequencies and boosting the low frequencies. This can create a unique and interesting sound that can add depth and character to a mix.
It’s also important to note that different instruments and vocals have their own unique frequency ranges, so it’s important to know the characteristics of each one in order to use EQ to your advantage.

Another tip is to use EQ in conjunction with other effects such as compression and reverb to enhance the overall sound of your mix. Compression can add punch and power to your mix, while reverb can add a sense of space and depth. By using EQ, compression, and reverb together, you can create a more polished and professional sound.
Finally, it’s important to remember that EQ is not a one-time adjustment. The sound of a mix can change as it progresses, so it’s important to go back and make adjustments as needed.

In conclusion, EQ is a powerful tool in music production that allows you to shape the sound of your tracks and create a cohesive overall mix. By understanding the different frequency ranges, how to use EQ to balance and fix problem frequencies, and how to use EQ creatively, you can take your mixes to the next level. Remember to use EQ sparingly, and always listen to the changes in the mix before making further adjustments. With practice and patience, you will master the art of EQ and be able to shape the sound of your productions to perfection.

Posted on Leave a comment

The benefits of using a hardware synthesizer in your production workflow

The benefits of using a hardware synthesizer in your production workflow

Hardware synthesizers have been a staple in the music production world for decades, and for good reason. While software synthesizers have become increasingly popular in recent years, there are still many benefits to using a hardware synthesizer in your production workflow. In this article, we’ll go over some of the main benefits of using a hardware synthesizer in your music production.

  1. Hands-on control

One of the main benefits of using a hardware synthesizer is the ability to have hands-on control over the sound. Many hardware synthesizers come with a range of physical controls, such as knobs, buttons, and sliders, that allow you to tweak and shape the sound in real-time. This can be especially useful for live performances, as it allows you to make on-the-fly adjustments to the sound.

  1. Improved sound quality

Hardware synthesizers are known for their high-quality sound, and for good reason. Many hardware synthesizers use analog circuits and components, which can result in a warmer, more organic sound compared to software synthesizers. In addition, many hardware synthesizers have a higher resolution than software synthesizers, which can result in a more detailed and nuanced sound.

  1. Unique character and tonal variations

Another benefit of using a hardware synthesizer is the unique character and tonal variations that they can offer. Many hardware synthesizers have their own distinct sound and character, which can add a level of depth and personality to your tracks. In addition, the physical components of a hardware synthesizer can result in tonal variations and imperfections that can add warmth and character to the sound.

  1. Durability and longevity

Hardware synthesizers are known for their durability and longevity, and many models can last for decades with proper care. This can be especially useful for live performances, as you won’t have to worry about the reliability of your synthesizer. In addition, hardware synthesizers can hold their value well over time, making them a good investment.

  1. Integration with other hardware

Many hardware synthesizers have the ability to integrate with other hardware, such as drum machines, sequencers, and effects units. This can allow you to create a cohesive and integrated production setup, which can be especially useful for live performances. In addition, many hardware synthesizers have the ability to sync with software DAWs (digital audio workstations) via MIDI, allowing you to use them in your production workflow alongside software tools.

In conclusion, there are many benefits to using a hardware synthesizer in your music production. From hands-on control and improved sound quality to unique character and integration with other hardware, hardware synthesizers can bring a level of depth and personality to your tracks that is hard to achieve with software alone. Whether you’re a seasoned producer or just starting out, incorporating a hardware synthesizer into your production workflow can be a valuable addition to your toolkit.

Posted on Leave a comment

Creative uses of time stretching in music production

Time stretching is a technique that involves changing the tempo of an audio sample without altering its pitch. It’s a common tool in music production and can be used for a variety of purposes, from correcting timing issues to creating experimental sound effects. In this article, we’ll go over some creative ways to use time stretching in music production.

  1. Correcting timing issues

One of the most practical uses of time stretching is to correct timing issues in a track. This can involve stretching or compressing a sample to fit better with the tempo of a track, or adjusting the tempo of a track to match a sample. By using time stretching in this way, you can ensure that all the elements of your track are in sync and sound seamless.

  1. Creating experimental sound effects

Time stretching can also be used to create experimental sound effects. For example, you can stretch a sample to extreme lengths to create a slowed-down or stretched out effect. Alternatively, you can compress a sample to create a sped-up or stuttered effect. By using time stretching in this way, you can create a wide range of unique and unconventional sound effects.

  1. Creating pitched effects

While time stretching is typically used to change the tempo of a sample without altering its pitch, it’s also possible to use it to create pitched effects. This can involve stretching a sample to a specific tempo and pitch, or pitching a sample up or down and then stretching it to fit the tempo of a track. By using time stretching in this way, you can create unique and interesting pitched effects that can add depth and character to your tracks.

  1. Creating original loops and samples

Time stretching can also be used to create original loops and samples. For example, you can take a small section of a sample and stretch it to fit the length of your track. This can be an effective way to create unique and original loops that are tailored to your music.

  1. Experimenting with tempos and time signatures

Finally, time stretching can be used to experiment with different tempos and time signatures. By stretching or compressing a sample to fit a different tempo or time signature, you can create tracks that are unconventional and outside the norm. This can be an effective way to add interest and variety to your music.

In conclusion, time stretching is a powerful tool in music production that can be used for a wide range of purposes. From correcting timing issues to creating experimental sound effects and experimenting with tempos and time signatures, time stretching can help you to take your tracks to the next level. Whether you’re a seasoned producer or just starting out, incorporating time stretching into your production workflow can be a valuable addition to your toolkit.

Posted on Leave a comment

The role of mastering in the music production process

Mastering is the final step in the music production process and involves refining and polishing a track to create a polished and professional-sounding final product. While mastering can be a complex and technical process, it’s an essential part of creating a high-quality track that is ready for release. In this article, we’ll go over the role of mastering in the music production process and some tips for mastering your own tracks.

  1. What is mastering?

Mastering is the process of refining and polishing a track to create a cohesive and professional-sounding final product. It involves a range of techniques and processes, including EQ, compression, limiting, and stereo enhancement, and is typically the final step in the music production process. The goal of mastering is to create a track that is sonically balanced, sounds good on a variety of playback systems, and is ready for release.

  1. Why is mastering important?

Mastering is important for a number of reasons. First and foremost, it helps to create a cohesive and professional-sounding final product. By applying mastering techniques, you can ensure that your track sounds balanced and polished, with a consistent volume level and a clear and defined stereo image. In addition, mastering helps to prepare your track for release, as it ensures that it meets industry standards and will sound good on a variety of playback systems.

  1. What to consider when mastering

There are several things to consider when mastering a track. One of the most important is the overall loudness of the track. While it’s tempting to make your track as loud as possible, it’s important to strike a balance between loudness and dynamic range. A track that is too loud can sound distorted and fatiguing, while a track that is too quiet may not stand out in a mix. It’s important to find a balance that allows your track to stand out without sacrificing sound quality.

Another important consideration when mastering is the frequency balance of the track. It’s important to ensure that the different elements of the mix are balanced in the frequency spectrum, with no individual element dominating too much. This can involve applying EQ to balance the levels of different elements, such as the bass, mid-range, and highs.

Finally, it’s important to consider the stereo image of the track when mastering. This involves ensuring that the track has a clear and defined stereo image, with elements such as the vocals and lead instruments placed in the center of the mix and the backing instruments placed in the left and right channels.

  1. Tips for mastering your own tracks

If you’re looking to master your own tracks, there are a few tips to keep in mind. First and foremost, it’s important to make sure that you have a good starting point. This means ensuring that your mix is as polished and balanced as possible before you begin the mastering process. This can involve applying EQ, compression, and other techniques to shape the sound of your mix.

It’s also important to use high-quality mastering tools and equipment. This can include software plugins such as EQs, compressors, and limiters, as well as hardware processors such as outboard EQs and compressors. Using high-quality tools can help to ensure that your mastering process is as effective as possible.

Another tip for mastering your own tracks is to use reference tracks. A reference track is a professionally mastered song in a similar genre that you can use as a benchmark for your own track. By referencing a track that you know sounds good, you can get a sense of how your track compares and make adjustments as needed.

Finally, it’s important to take breaks and listen to your track on a variety of playback systems. Mastering can be a time-consuming and detail

Posted on Leave a comment

Working with virtual instruments: tips and tricks

virtual instruments are software programs that mimic the sounds and capabilities of traditional instruments, such as pianos, guitars, and drums. They have become an essential part of many music production setups and can provide a convenient and cost-effective way to incorporate a wide range of instruments into your music. In this article, we’ll go over some tips and tricks for working with virtual instruments in your music production.

  1. Choose the right virtual instrument for the job

One of the keys to working with virtual instruments is to choose the right one for the job. With so many virtual instruments available, it’s important to take the time to find one that is suitable for your needs. This can involve considering factors such as the type of sound you’re looking for, the complexity of the instrument, and the features and capabilities that it offers.

  1. Experiment with different sounds and settings

One of the great things about virtual instruments is the ability to experiment with different sounds and settings. Many virtual instruments come with a wide range of presets and customization options that allow you to shape the sound in a variety of ways. By taking the time to experiment with different sounds and settings, you can find the perfect sound for your music.

  1. Use effects to shape the sound

Another tip for working with virtual instruments is to use effects to shape the sound. This can involve using effects such as EQ, reverb, and delay to create a more polished and professional-sounding final product. By applying effects in a thoughtful and targeted way, you can add depth and character to your virtual instruments and make them sound more realistic and lifelike.

  1. Layer and blend virtual instruments with real instruments

One way to make virtual instruments sound more realistic is to layer and blend them with real instruments. This can involve recording real instruments and layering them with virtual instruments, or using virtual instruments to augment the sound of real instruments. By combining the strengths of both virtual and real instruments, you can create a more nuanced and dynamic sound

in your music.

  1. Use virtual instruments to create unique and unconventional sounds

Finally, don’t be afraid to use virtual instruments to create unique and unconventional sounds. Many virtual instruments come with advanced features and capabilities that allow you to create sounds that are impossible to achieve with real instruments. By exploring the possibilities of virtual instruments, you can create sounds that are truly original and unique.

In conclusion, working with virtual instruments can be a great way to incorporate a wide range of instruments into your music production. By choosing the right virtual instrument for the job, experimenting with different sounds and settings, using effects to shape the sound, layering and blending virtual instruments with real instruments, and exploring the capabilities of virtual instruments, you can create a wide range of sounds and add depth and character to your music. Whether you’re a seasoned producer or just starting out, incorporating virtual instruments into your production workflow can be a valuable addition to your toolkit.

Posted on Leave a comment

The art of mixing and mastering: a masterclass

Mixing and mastering are crucial steps in the music production process, and getting them right can make a big difference in the quality of your tracks. Here’s a masterclass on the art of mixing and mastering:

  1. What is mixing? Mixing is the process of taking all of the recorded elements of a song – such as vocals, instruments, and samples – and arranging them into a cohesive track. This involves balancing the levels of each element, applying effects, and shaping the overall sound of the track.
  2. What is mastering? Mastering is the final step in the music production process and involves optimizing the overall sound of the track and ensuring that it sounds good on a variety of playback systems. This can involve applying EQ, compression, and other effects to enhance the sound, as well as preparing the track for distribution.
  3. Tips for mixing: Here are some tips for getting the best possible mix:
  • Use reference tracks: Reference tracks are songs that you use as a reference when mixing your own music. They can be helpful for getting a sense of how your tracks should sound and for making mix decisions.
  • Pay attention to the arrangement: The arrangement of a song – the way that the various elements are put together – is crucial to its success. Make sure that each element is contributing to the overall feel and direction of the song.
  • Balance the levels: Proper level balancing is crucial for a good mix. Make sure to balance the levels of all the elements in your mix and use a metering plugin to ensure that they’re not peaking.
  • Use EQ to shape the sound: Equalization (EQ) is a powerful tool for shaping the sound of individual tracks and the overall mix. Use EQ to balance the frequencies of each element and create separation between instruments.
  • Use compression wisely: Compression can be used to even out the levels of a track and add punch and sustain to certain elements. However, it’s important to use it wisely – over-compressing can lead to a lifeless mix.
  1. Tips for mastering: Here are some tips for mastering your tracks:
  • Use a mastering plugin: A mastering plugin is a software program that can be used to apply effects to a track during the mastering process. Some popular options include Ozone and LANDR.
  • Use reference tracks: As with mixing, it can be helpful to use reference tracks during the mastering process. This can give you a sense of how your track should sound in comparison to other professionally mastered tracks.
  • Use EQ to balance the frequencies: Equalization is an important tool for balancing the frequencies of a track during the mastering process. Use a spectral analyzer plugin to identify any frequency imbalances and use EQ to fix them.
  • Use compression sparingly: While compression can be useful for adding punch and sustain to a track, it’s important to use it sparingly during the mastering process. Over-compressing can lead to a lifeless sound.
  • Leave enough headroom: Headroom refers to the space between the highest peak of a track and the maximum level that the track can reach without distorting. It’s important to leave enough headroom during the mastering process to ensure that the track doesn’t distort.

By following these tips, you can improve the quality of your mixes and masterings and take your music production skills to the next level. Remember that mixing and mastering take time and practice, so don’t get discouraged and keep working towards your goals.

Posted on Leave a comment

5 tips for improving your mixing skills

Mixing is an essential aspect of music production that can often be the difference between a track that sounds amateur and one that sounds professional. It involves balancing the levels of the different audio elements in a song, such as vocals, instruments, and effects, and applying processing to achieve a desired sound. While mixing can be a challenging task, even for experienced producers, there are several tips and techniques you can use to improve your mixing skills. Here are five tips that can help you take your mixes to the next level:

  1. Start with a clean slate

Before you begin mixing, it’s important to make sure that your session is organized and that you have all the necessary elements. This means creating clear and concise folder structures, labeling tracks, and setting up your session in a way that makes sense to you. It also means starting with raw, unprocessed audio tracks whenever possible, as this will give you more control over the final sound.

  1. Use reference tracks

One of the best ways to improve your mixing skills is to use reference tracks. A reference track is a professionally mixed song in a similar genre that you can use as a benchmark for your own mix. By referencing a track that you know sounds good, you can get a sense of how your mix compares and identify areas where you may need to make adjustments.

  1. Use EQ to balance frequencies

Equalization (EQ) is an essential tool in the mixing process, and it’s important to understand how to use it effectively. When mixing, you want to make sure that each element of the mix has its own space in the frequency spectrum. For example, you don’t want the bass and kick drum to fight for space in the low end, or the vocals and guitar to clash in the mid-range. By using EQ to carve out space for each element in the mix, you can achieve a clearer and more balanced sound.

  1. Pay attention to panning

Panning is the process of adjusting the stereo position of a sound within the mix. By panning certain elements to different parts of the stereo field, you can create a sense of space and depth in the mix. For example, you might pan the lead vocals to the center of the mix, while panning the guitars and keyboards to the left and right. Panning is an effective way to create separation between different elements in the mix and can help to make your mix sound more polished.

  1. Use effects tastefully

Effects such as reverb, delay, and compression can be powerful tools in the mixing process, but it’s important to use them sparingly. Applying too much of any given effect can clutter up the mix and make it sound over-produced. Instead, use effects to enhance certain elements of the mix and create a sense of space and depth. For example, you might use a small amount of reverb on the vocals to give them a sense of distance, or use a short delay on the guitar to add some texture.

In conclusion, mixing is an essential aspect of music production that requires practice and patience. By following these tips and techniques, you can improve your mixing skills and create professional-sounding mixes that stand out. Remember to start with a clean slate, use reference tracks, balance frequencies with EQ, pay attention to panning, and use effects tastefully, and you’ll be well on your way to creating great-sounding mixes.

Posted on Leave a comment

The importance of sound design in electronic music production

Sound design is an essential aspect of electronic music production that involves creating and shaping the sounds that are used in a track. It involves everything from synthesizing new sounds from scratch to manipulating and processing pre-existing sounds to create something new and unique. Sound design is a crucial part of the music production process, as it allows producers to craft and sculpt the sounds that will ultimately make up their tracks.

One of the main reasons why sound design is so important in electronic music production is that it allows producers to create sounds that are specific to their music. While it’s possible to use pre-existing samples and sounds in a track, creating your own sounds allows you to have complete control over the final sound. This can be especially useful in electronic music, where the sounds used are often highly synthetic and unique. By designing your own sounds, you can create something that is completely original and tailored to your music.

In addition to allowing producers to create original sounds, sound design also helps to give tracks their own identity and character. When listeners hear a track, they often associate it with the sounds that are used, and well-designed sounds can help to make a track stand out. By putting time and effort into sound design, producers can create tracks that are sonically distinctive and memorable.

Another reason why sound design is so important in electronic music production is that it allows producers to create new and unique combinations of sounds. In electronic music, it’s not uncommon for producers to combine different sounds and techniques to create something that is completely new and original. By designing their own sounds, producers can experiment with different combinations and create sounds that are truly unique.

Finally, sound design is important in electronic music production because it allows producers to create a sense of continuity and cohesion within their tracks. When a track is made up of a variety of different sounds, it can be difficult to create a cohesive whole. By designing their own sounds, producers can create a set of sounds that work well together and help to tie the track together.

In conclusion, sound design is an essential aspect of electronic music production that allows producers to create original sounds, give their tracks character and identity, experiment with new combinations of sounds, and create a sense of continuity within their tracks. By putting time and effort into sound design, producers can craft tracks that are sonically distinctive and memorable.